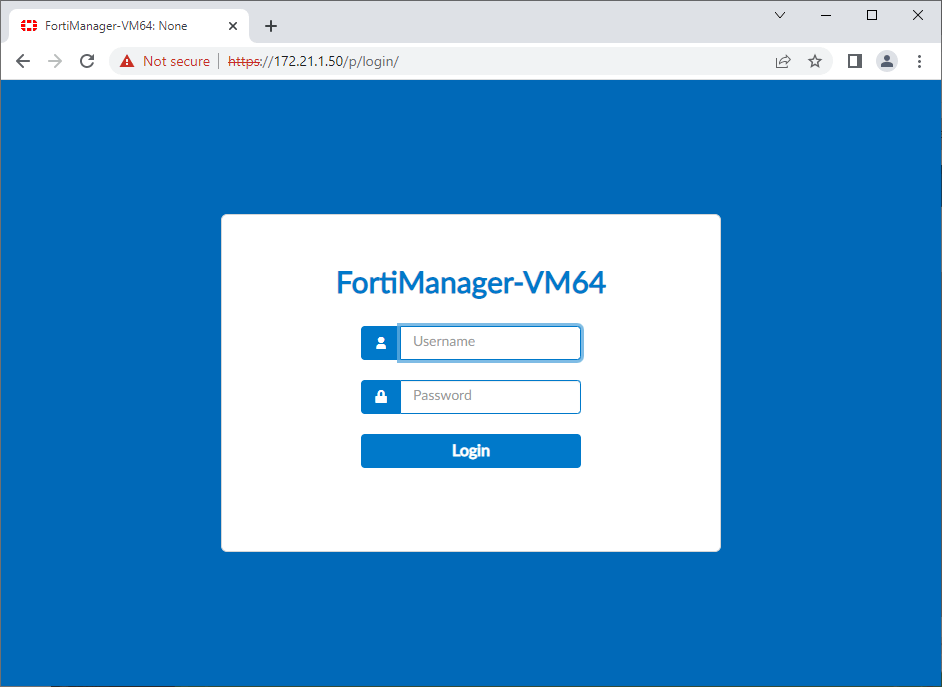
In this Tutorial will be deployed Fortinet FortiManager-VM Virtual Appliance in Testlab, running on ESXi Host. These steps could also be used for production environment install.
Prerequisites:
- VMware ESXi host
- Fortinet FortiManager for VMWare ESXi platform Version 7.2.0
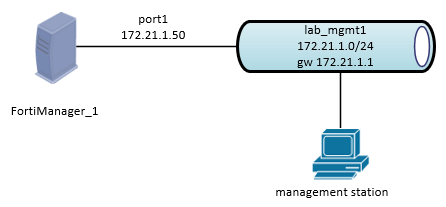
Network Diagram:
1. Download the FortiManager for VMWare ESXi platform
Download the FortiManager-VM Virtual Appliance image for VMware ESXi from fortinet.com, and save it to your local computer:
https://support.fortinet.com/Download/VMImages.aspx
Note:
A fortinet.com login is required.
2. Create VMware Virtual Machine
2.1 In VMware ESXi Web interface select “Create/Register VM”.

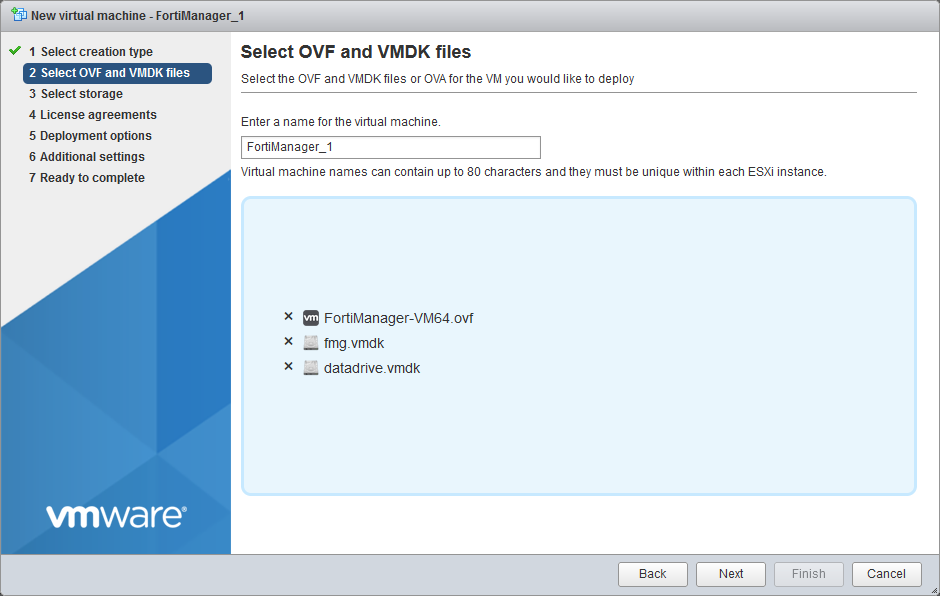
2.2 Select “Deploy a virtual machine from an OVF or OVA file”. Select Next.
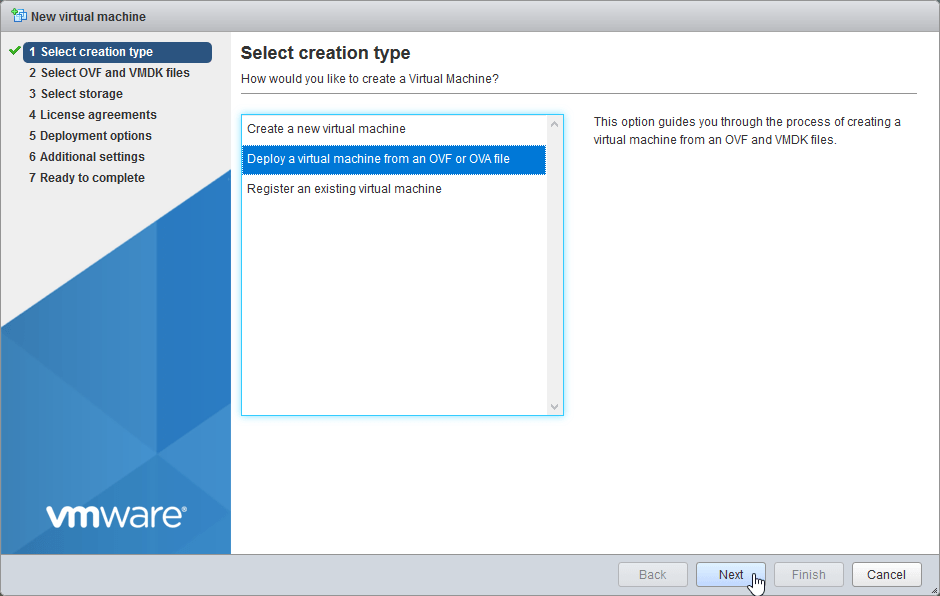
2.3 Enter name for the FortiManager-VM “FortiManager_1”, Select or drag and drop the fmg.vmdk, datadrive.vmdk file and FortiManager-VM64.ovf file. Select Next.
Note:
If you are deploying into older Version of ESXi, use appropriate .ovf file for deploy:
Template | Compatible with
DATADRIVE.vmdk | FortiManager-VM log disk in VMDK format.
FMG.vmdk | FortiManager system hard disk in Virtual Machine Disk (VMDK) format.
FortiManager-VM64.hw14.ovf | OVF template file for VMware ESXi 6.7 and later versions.
FortiManager-VM64.hw14.vapp.ovf | OVF template file for VMware vSphere, vCenter, and vCloud (ESXi 6.7 and later).
FortiManager-VM64.ovf | OVF template based on Intel e1000 NIC driver.
FortiManager-VM64.vapp.ovf | OVF template file for VMware vSphere, vCenter, and vCloud (earlier than ESXi 6.7).
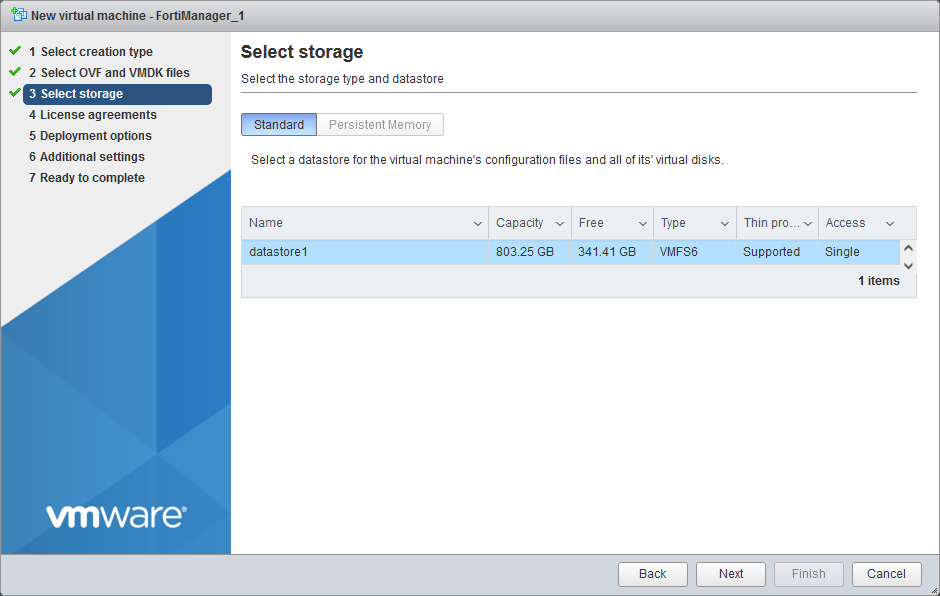
2.4 Choose your Datastore. Select Next.
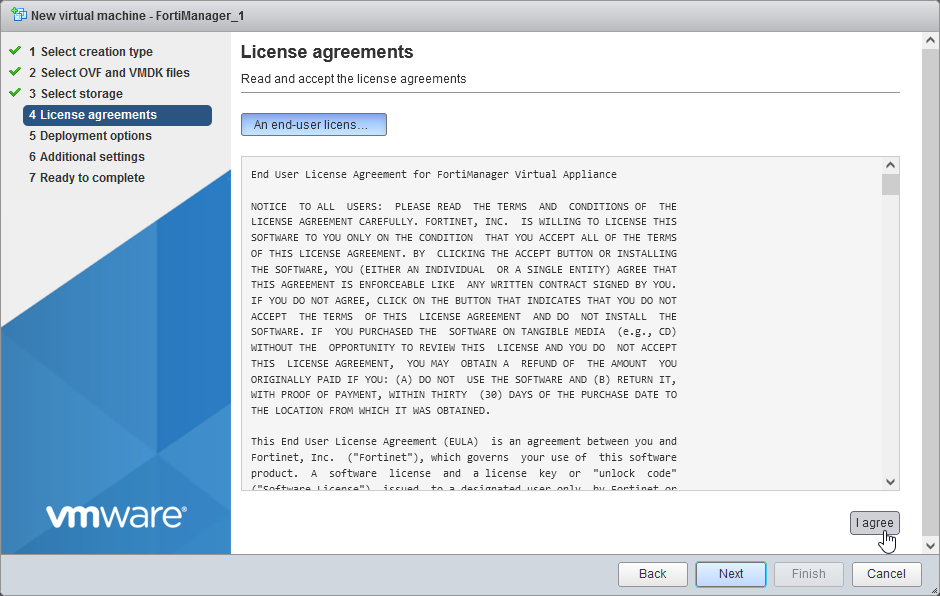
2.5 Accept license agreement. “I agree”, Select Next.
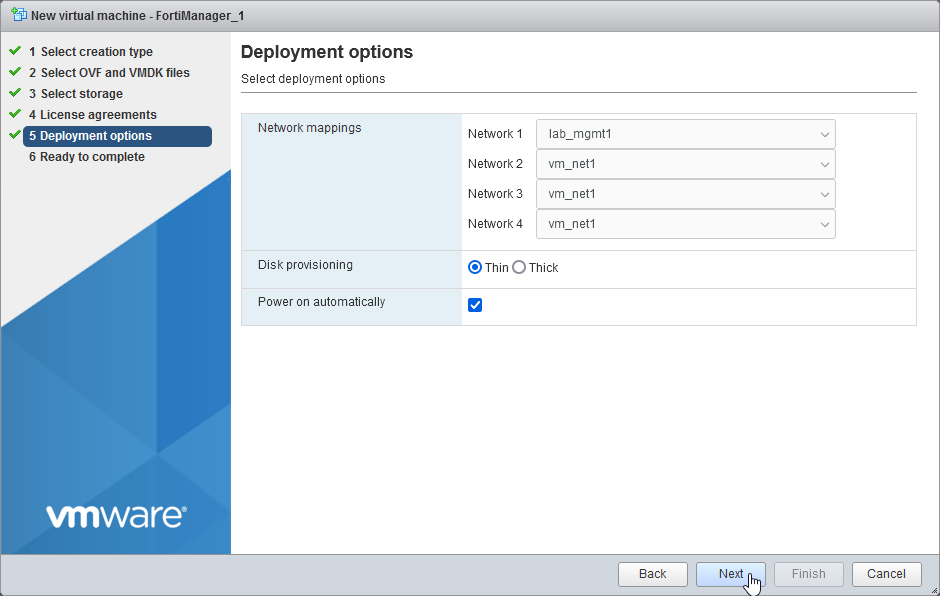
2.6 Configure your Network interface mappings and disk provisioning
“Network 1” – function Management (lab_mgmt1)
“Network 2-4” – no function – dummy network (vm_net1)
Disk Provisioning: Thin
more about VMware ESXi disk provisioning
Select Next.
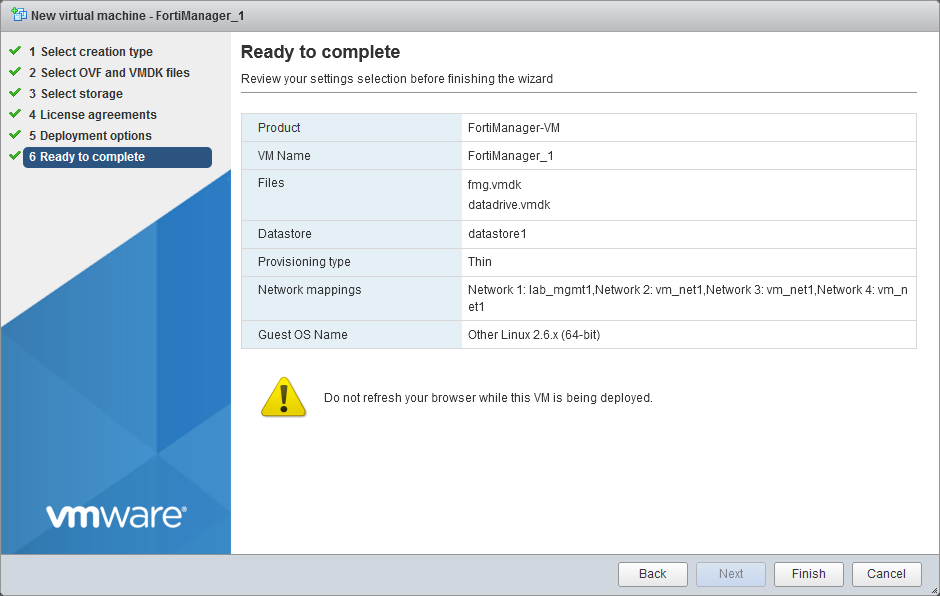
2.7 Review your configuration before finishing the wizard. Select Finish.
3. Complete the FortiManager setup using CLI
3.1 Open the VMware console and log in with default credentials: admin/no password, enter new admin password, press Enter.
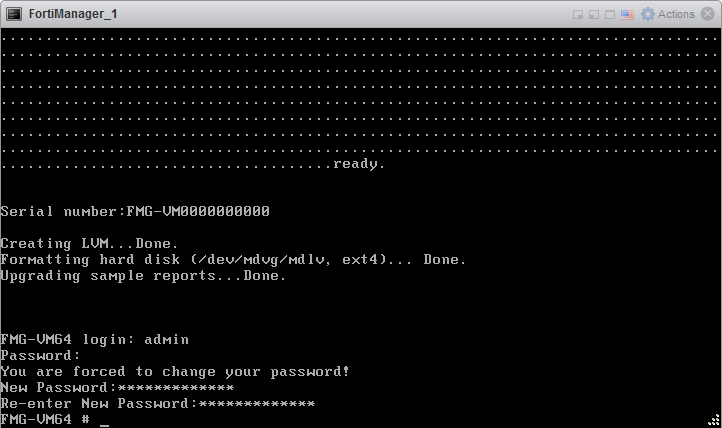
3.2 Configure network
by default port1 is out of the box configured as management interface with static IP address 192.168.1.99/24 and allowed access for services: https, ssh.
FMG-VM64 # show system interface port1
config system interface
    edit "port1"
        set ip 192.168.1.99 255.255.255.0
        set allowaccess https ssh
        set type physical
    next
end
configure:
- management port1 ip 172.21.1.50/24
- DNS Server 172.21.1.1
- Default Gateway 172.21.1.1
FMG-VM64 # config system interface
(interface)# edit port1
(port1)# set ip 172.21.1.50 255.255.255.0
(port1)# end
FMG-VM64 # config system dns
(dns)# set primary 172.21.1.1
(dns)# end
FMG-VM64 # config system route
(route)# edit 1
(1)# set device port1
(1)# set gateway 172.21.1.1
(1)# end
FMG-VM64 #
now it is possible to reach https GUI of the FortiManager on IP address 172.21.1.50 and to continue with configuration.
4. Basic FortiManager GUI configuration
4.1 Log in to FortiManager GUI with your Fortinet account.
Note:
choose either Free Trial or Activate License. In this case I will choose Free Trial for the Testlab puroses.
4.2 Accept the license agreement
Note:
after accepting the license agreement FortiManager connects with FortiCloud for license validation and will restart afterwards.
4.3 Log into FortiManager wit the admin account
4.4 Log into FortiManager wit the admin account
4.5 Perform the steps to complete the setup of this FortiManager
- Register and SSO with FortiCare or select Later: Later
- Set Timezone: GMT+1
- Specify Hostname: FortiManager_1
At this point we have functional Fortinet FortiManager-VM centralized management of the Fortinet security fabric. FortiManager-VM comes out of the box with Plug&Play license for 15 days.
How to install FortiGate-VM


