In this article I will describe Check Point Remote Access VPN and how to Implement the Check Point Mobile for Windows.
Check Point provides more types of Remote Access Solution such as:
- SSL VPN Portal for published business application
- Layer-3 VPN Tunnel
- Layer-3 VPN Tunnel integrated with Endpoint Security
I will be focusing on Category: Remote Access Solutions – Layer-3 VPN Tunnel, which are characterized by:
- Secure access to the business from any installed application via a Layer-3 VPN tunnel
- Check Point Mobile for Windows, Check Point VPN Plugin for Windows 8.1 and Check Point Capsule VPN for Windows 10 do not support “two factor user authentication”. (The limitation applies only to E80.64 and earlier in the context of Check Point Mobile for Windows.)
- Requires a VPN agent/app installation
- Best fit for both managed or unmanaged-devices
- License required: Check Point Mobile on the Security Gateway. License count per concurrent connected devices.
Check Point Mobile for Windows
- Introduction – is an IPsec VPN client. It is best for medium to large enterprises that do not require an Endpoint Security policy.
- It provides:
- Secure Connectivity
- Security Verification
- Required Licenses – IPsec VPN and Mobile Access Software Blades on the Security Gateway.
Source:
sk67820 – Check Point Remote Access Solutions – Gateway-Based Access
Where to get the Client:
Check Point Endpoint Security Homepage
Checkpoint Documentation for Remote Access VPN Clients for Windows:
Check Point Remote Access VPN Clients for Windows Administration Guide
Prerequisites:
- running Security Management Server
- running Checkpoint Security Gateway already connected with Security Management Server
- running Windows System
1. Configure Security Gateway
2. Configure VPN Community
3. Create RAS User
4. Configure Office Mode
5. Configure Security Policy Rules
6. Install Check Point Mobile for Windows
7. Configure Site in Check Point Mobile
1. Configure Security Gateway
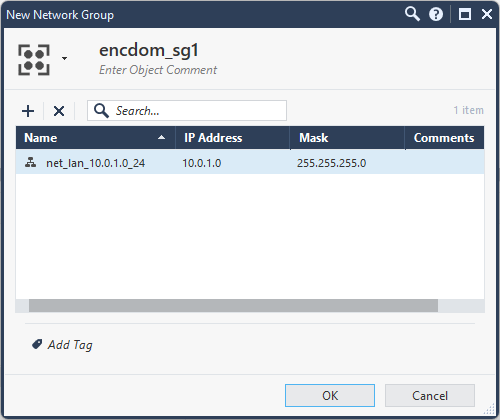
1.1 Add Network Group for VPN Encryption Domain (Networks to be routed from the RAS Client to the Check Point Gateway)
- add New / Network Group / Name: encdom_sg1
- add Networks according to your needs
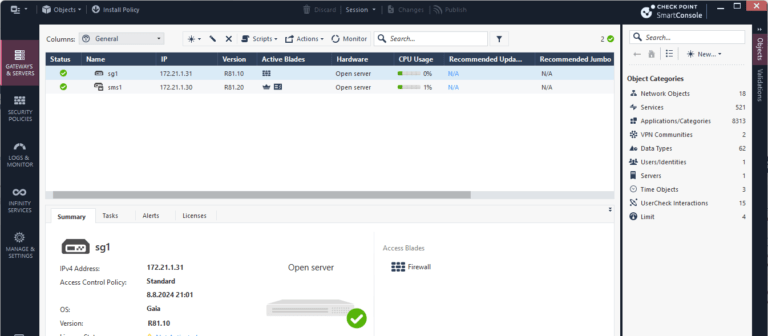
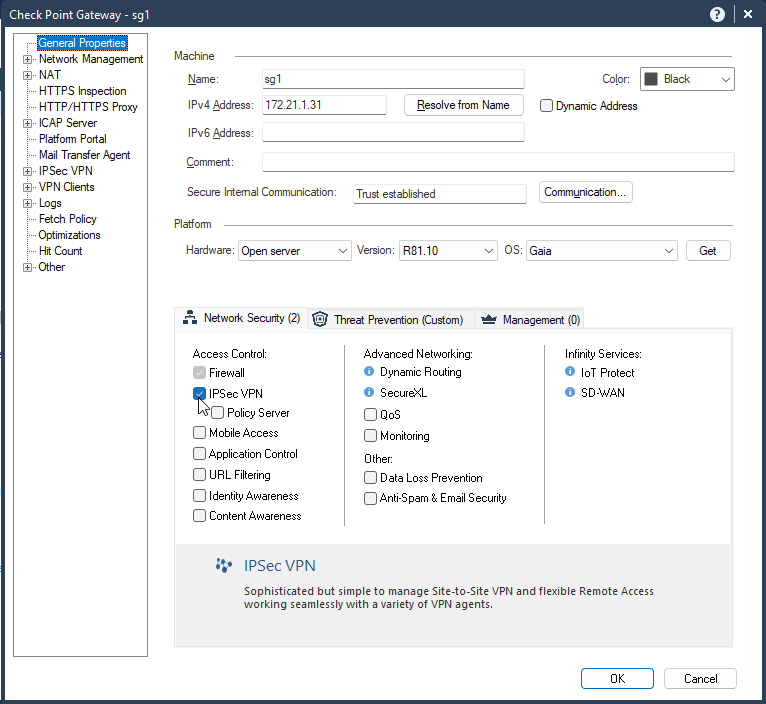
1.2 Edit Gateway Object (sg1)
1.3 Enable IPsec VPN Software Blade
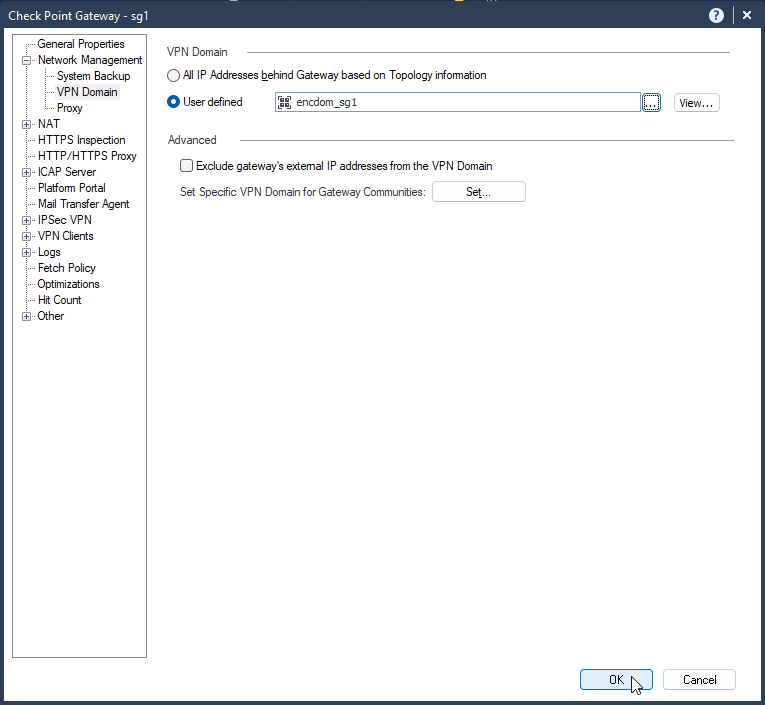
1.4 configure Gateway Object (sg1) / Network Management / VPN Domain / User Defined / encdom_sg1
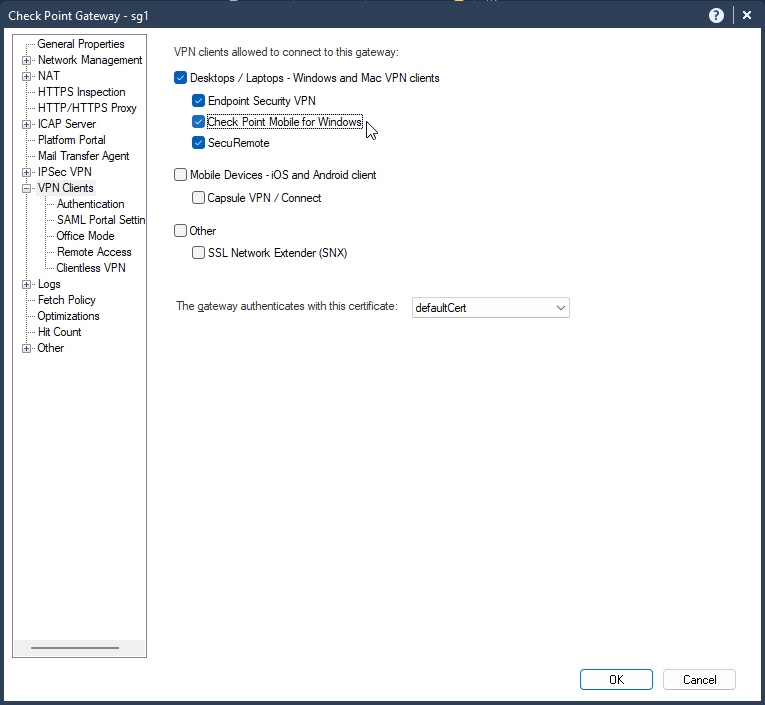
1.5 Edit Select VPN Clients / VPN Clients allowed to connect to this gateway – verify that “Check Point Mobile for windows” is selected
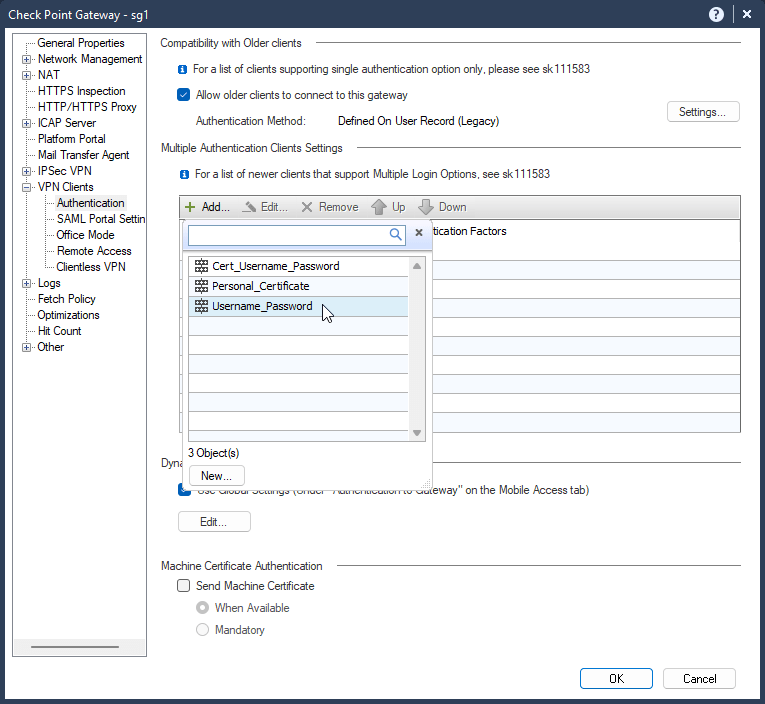
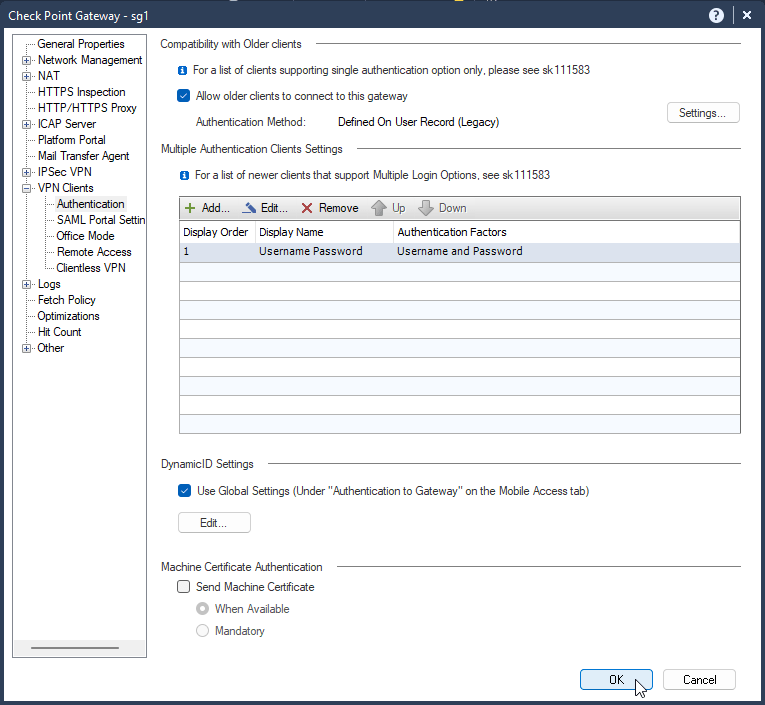
1.6 add Authentication Method – VPN Clients / Authentication / Add
- for the demonstration purposes I will use Username & Password (for the Check Point Local created User)
- it is highly recommended to use better authentication method in the production Environment such as Identity Provider / AD / RADIUS etc.
2. Configure VPN Community
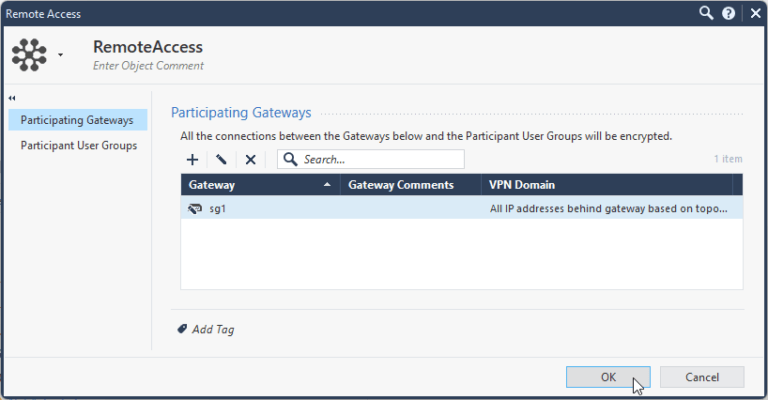
2.1 Add Gateway (sg1) to the Remote Access Community
3. Create RAS User
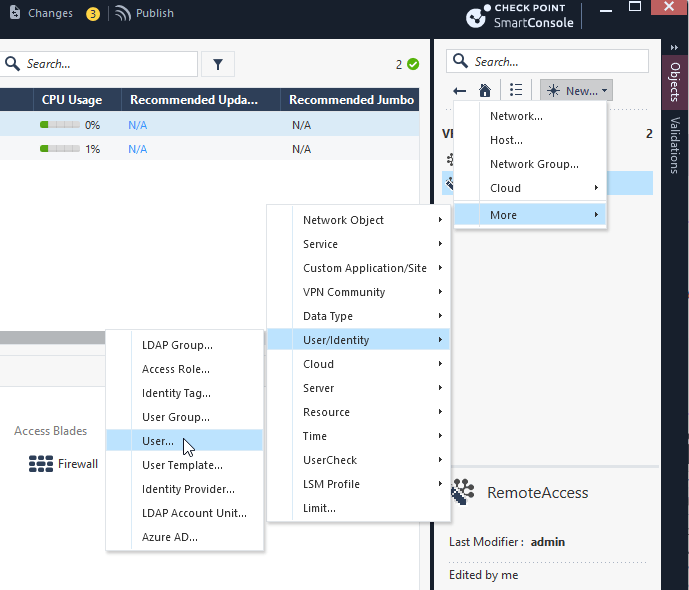
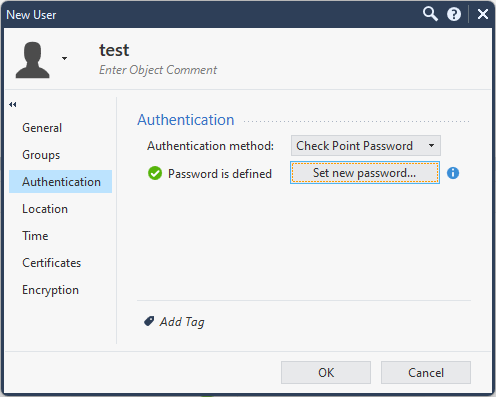
3.1 create new test User – New / More / User/Identity /User
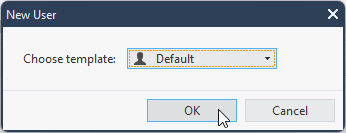
3.2 choose Template – Default
3.3 new User – “test“, Authentication method: “Check Point Password“, Set new Password…
4. Configure Office Mode
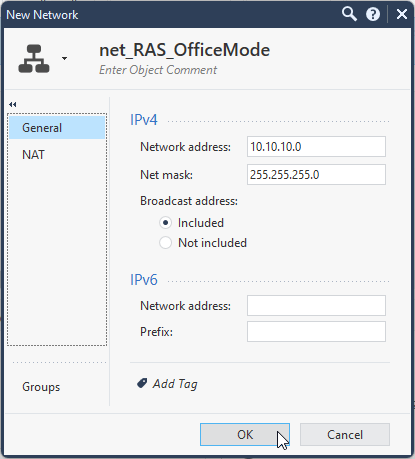
4.1 Create Office Network Object – New / Network
- New Network: “net_RAS_OfficeMode“
- Network Address: (according to your needs, for demonstration purposes 10.10.10.0/24)
4.2. publish
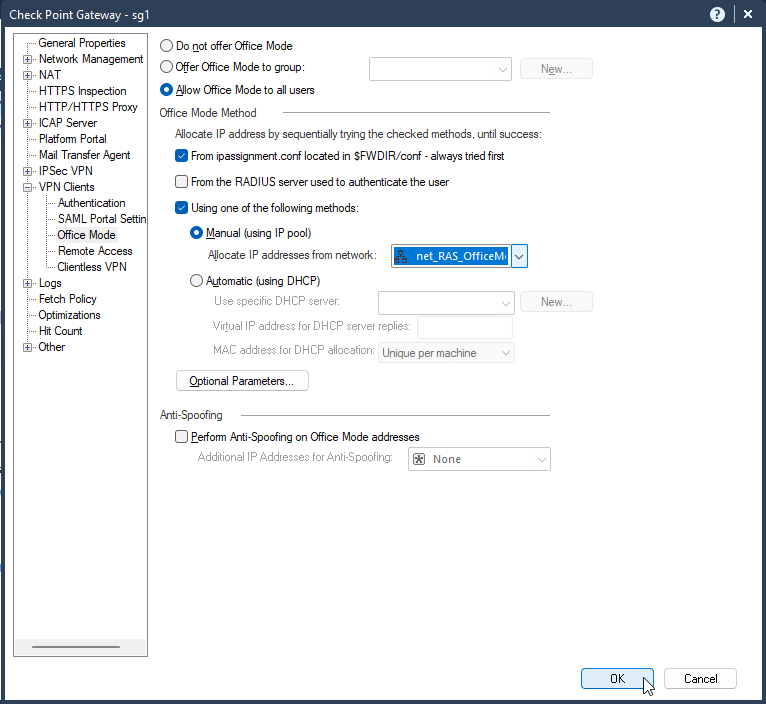
4.3 Edit Gateway Object (sg1)
- VPN Clients / Office Mode / Allow Office Mode to all users
- if you want to restrict the office mode to selected users, create RAS Users Group and select “Offer Office Mode to group”
- VPN Clients / Office Mode / Using one of the following methods / Manual / Allocate IP addresses from network – “net_RAS_OfficeMode“
5. Configure Security Policy Rules
5.1 add Rule for Remote Access
- Source: Best Practise – Access Role according to your needs, for the demonstration purposes “any“
- Destination: according to your needs, for demonstration purposes – “any“
- vpn: “RemoteAccess” (this rule applies only to RemoteAccess Users)
- Services: (according to your needs, for demonstration purposes – “ssh + Remote Desktop“)
5.2. Publish & Install Policy
6. Install Check Point Mobile for Windows
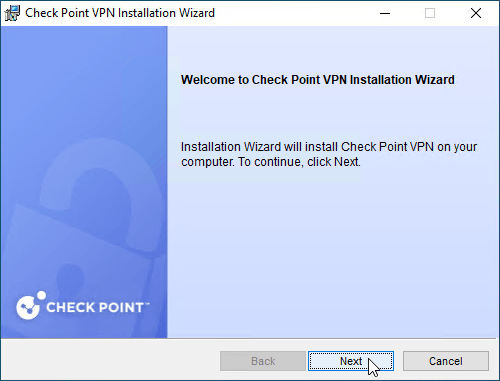
6.1 Run the Installer
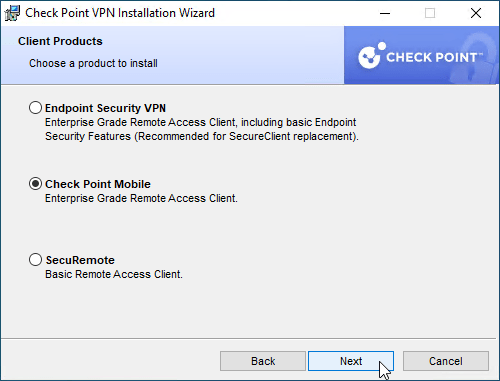
6.2 Choose Product to install – “Check Point Mobile“
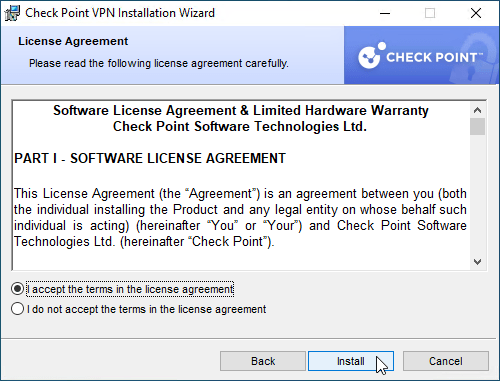
6.3 Accept License Agreement
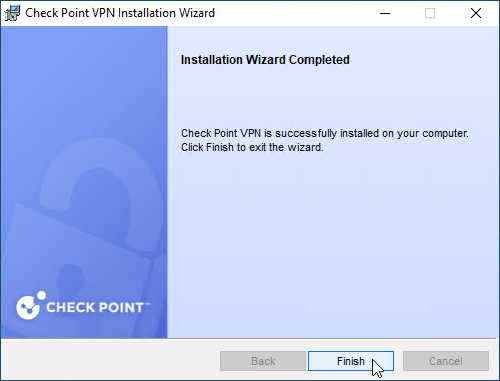
6.4 Finish the installation wizard
7. Configure Site in Check Point Mobile
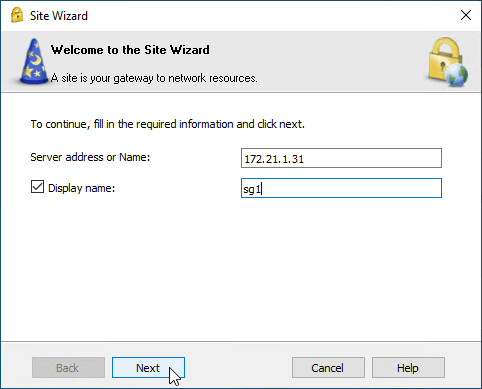
7.1 open Check Point Mobile from System Tray – “No site is configured. Would you like to configure a new site?” – Yes + Next
7.2 a. Server address or Name: (enter your FQDN or IP Address of the Check Point Gateway you want to connect to, for demonstration purposes I configure “172.21.1.31“)
7.2 b. Display Name: (name the Site according to your needs, for the demonstration purposes I configure “sg1“)
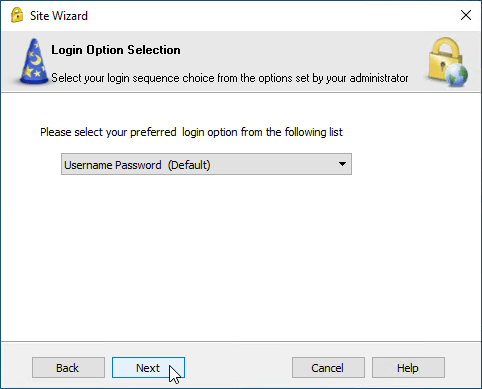
7.3 Please select your preferred login option from the following list: “Username Password (Default)“
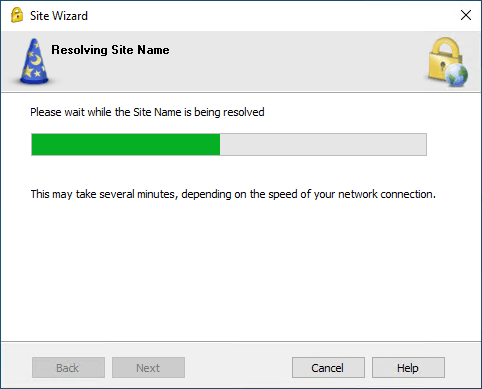
7.4 Finish
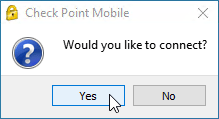
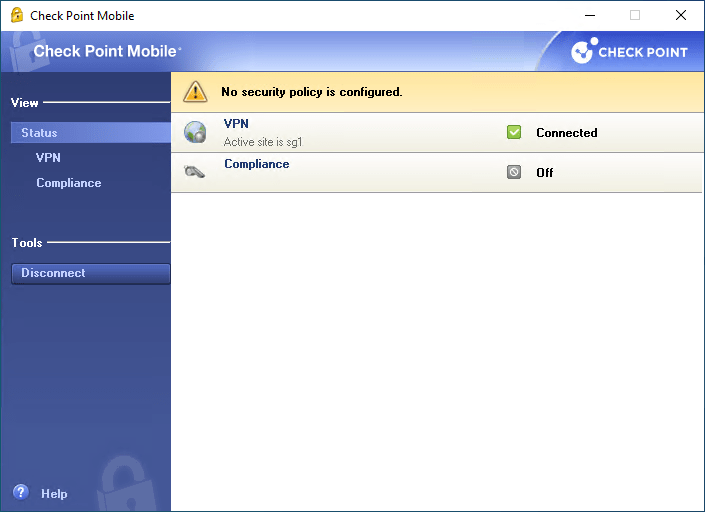
7.5 Would you like to connect? – Yes
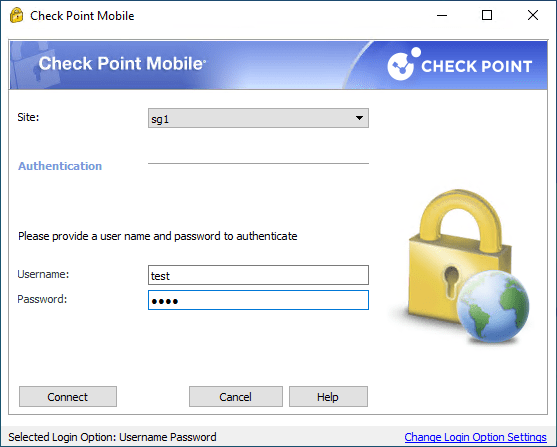
7.6 Site: sg1, Username: test, Password: ****
8. Test Check Point Mobile VPN Connection
8.1 Site: sg1, Username: test, Password: ****
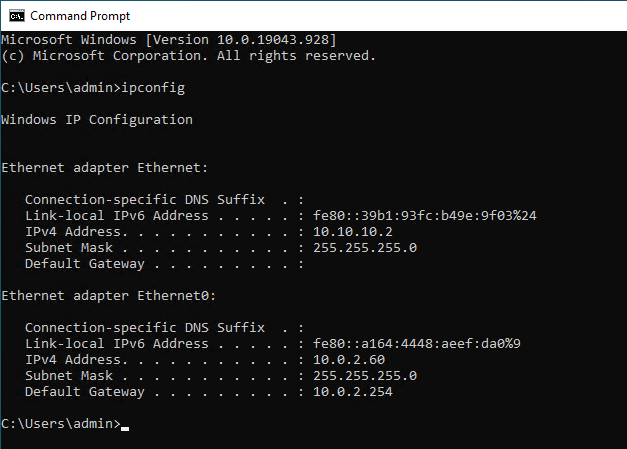
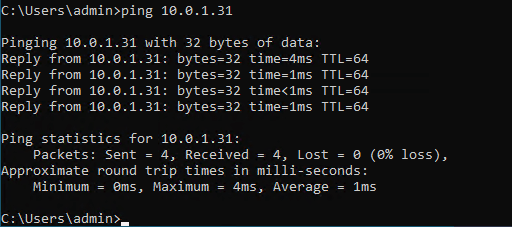
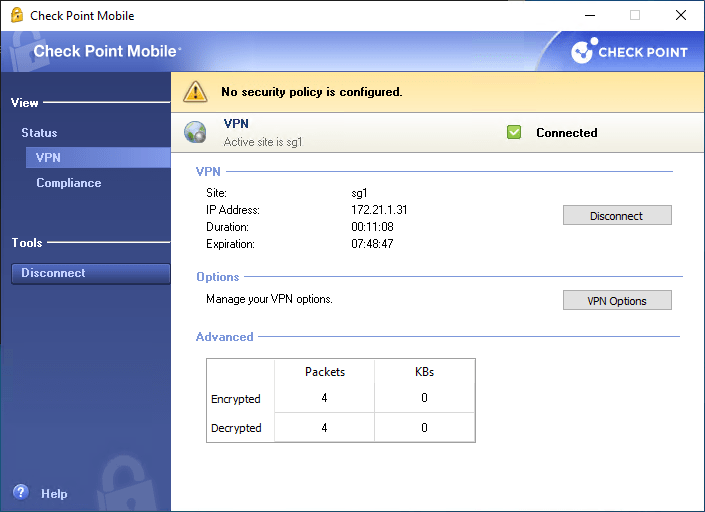
8.2 Let’s take a look at the windows network configuration and Connection test utilizing Check Point Mobile VPN Client
- Windows Client has IP Address from Office Net Address Pool
- Check Point Gateway LAN Interface is responding on icmp
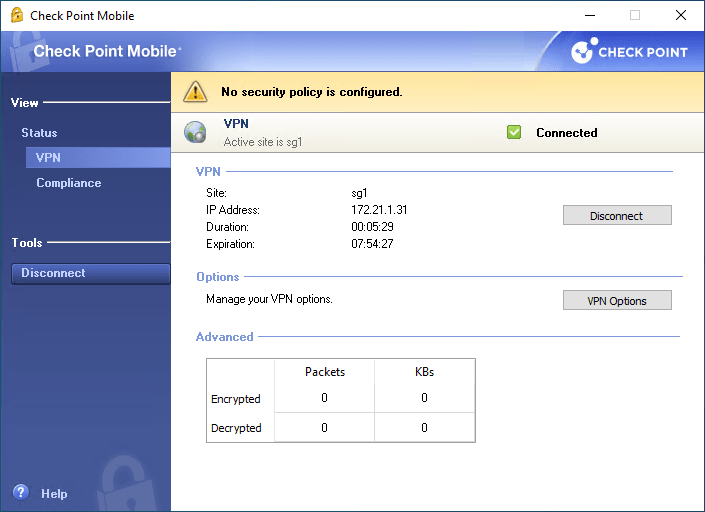
- Encrypted/Decrypted – 4 icmp request packets outgoing, 4 icmp response packets incoming
- Check Point Log Event generated – using VPN Connection from the Windows Client
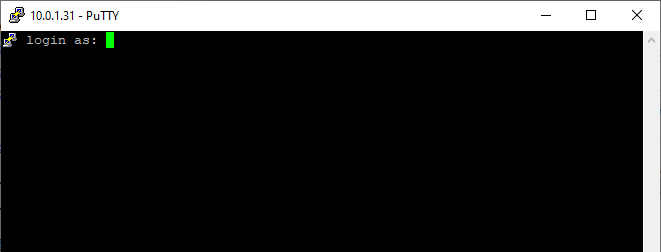
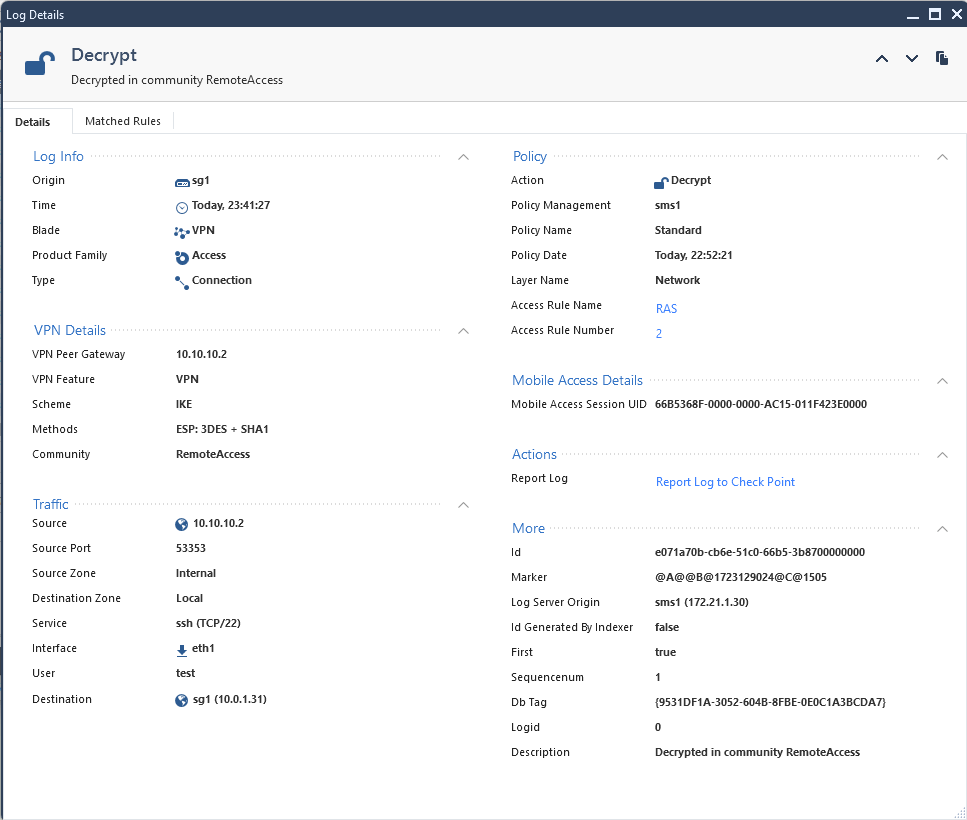
- test Rule n.2 with RemoteAccess Community and Service: ssh – connecting from Windows Client to Check Point LAN IP with ssh
- Log Decrypt Event for the ssh connection
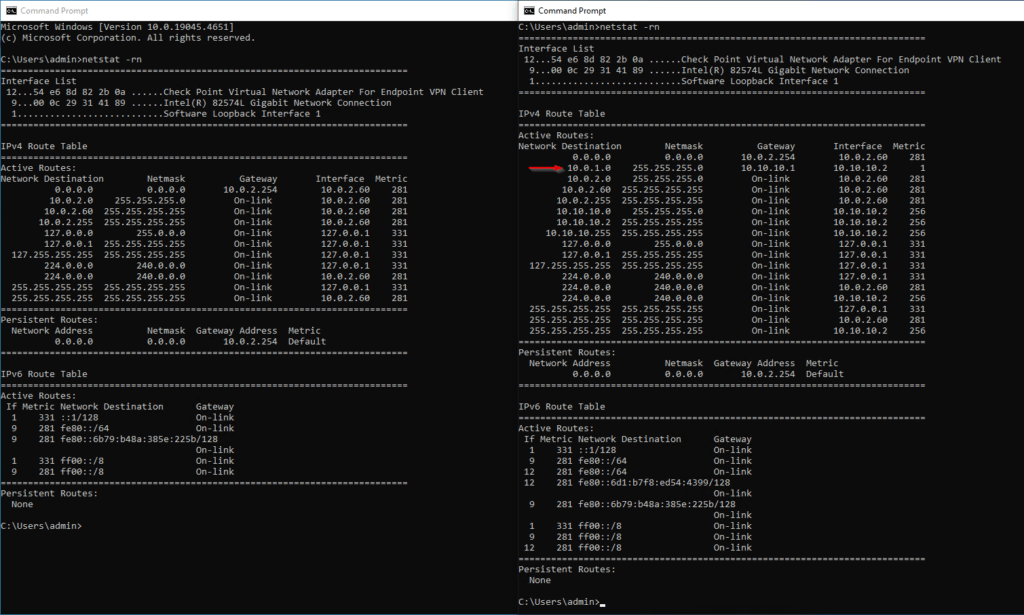
- Comparison windows routing table with Check Point Mobile Client disconnected and Check Point Mobile Client connected
- The Routes are present from the Network Object encdom_sg1, in this case – net_lan_10.0.1.0_24
The Check Point Remote Access VPN using Check Point Mobile for Windows is now configured and fully functional.
