In this Tutorial will be installed Check Point Security Gateway R81 (SG / Firewall) Open Server in Testlab, running under VMware Workstation Player environment. The installation steps could also be used for production environment install.
Prerequisites:
- VMware Workstation Player or VMware ESXi
- in this case will be used VMware Workstation (because of simplicity, in case that somebody wants to build a Testlab on a normal workstation)
- Check Point iso Install Image (Check_Point_R81_T392.iso)
- running Security Management Server R81
Steps:
1. Create VMware Virtual Machine
1. Create VMware Virtual Machine
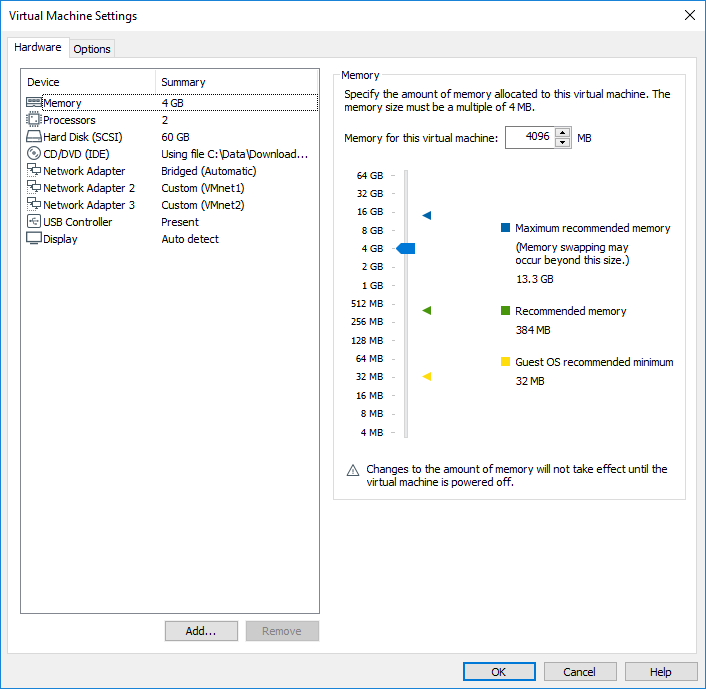
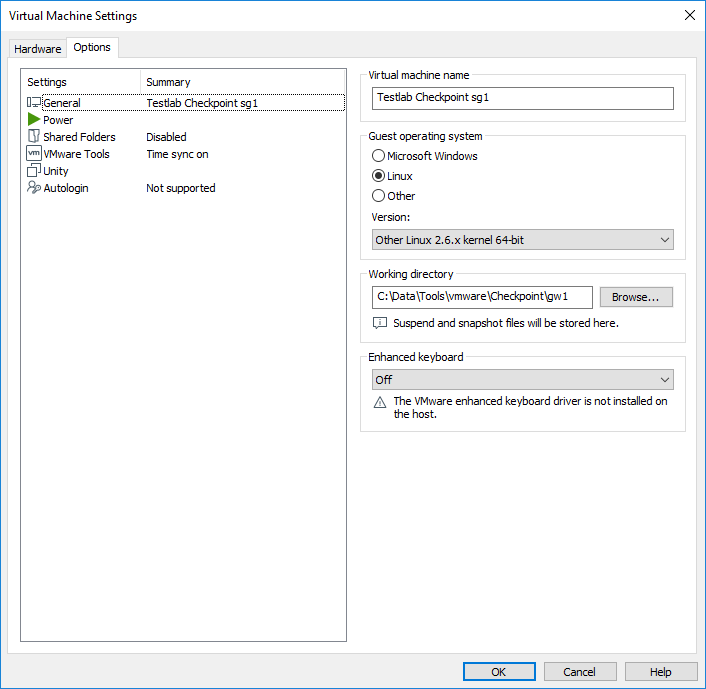
2. Install Check Point image in VMware virtual machine
2.1 Install Gaia on this system.
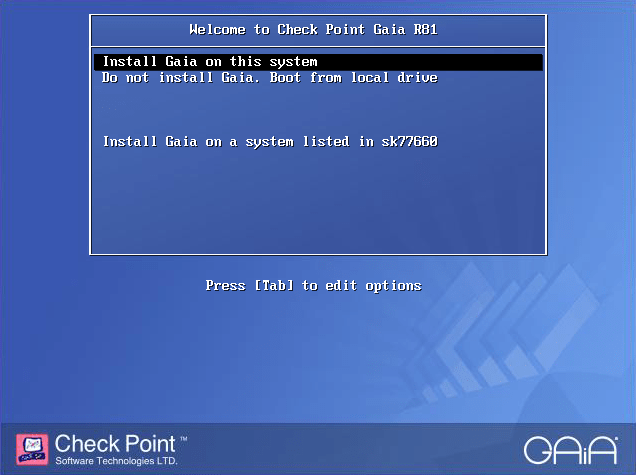
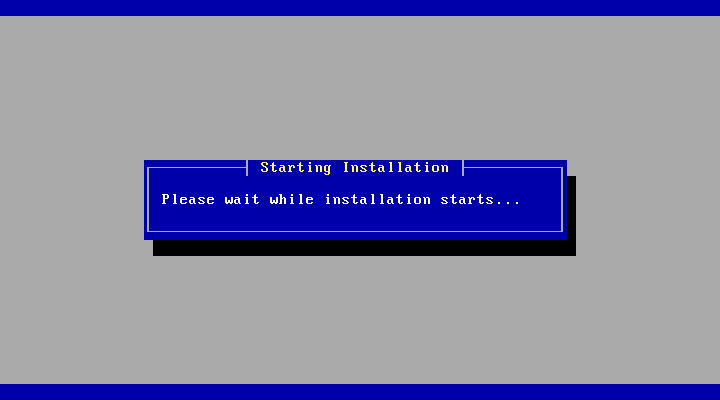
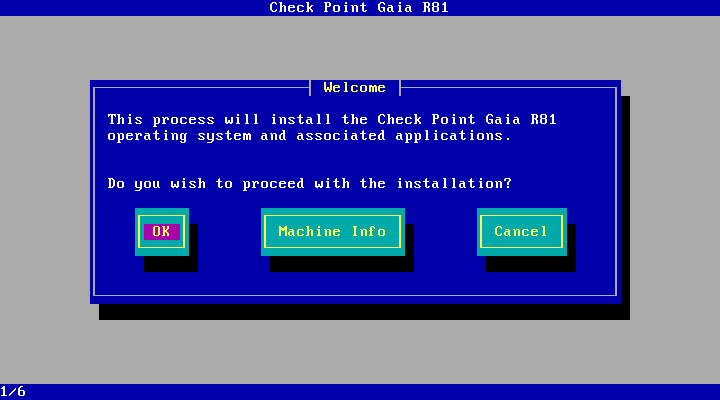
2.2 Checkpoint Gaia Installer scanned the hardware, recognized hardware components are under “Machine Info” present. Click OK.
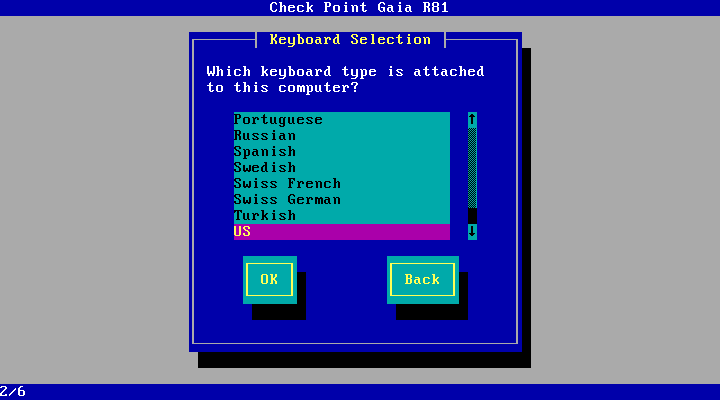
2.3 Select Keyboard layout. Click OK.
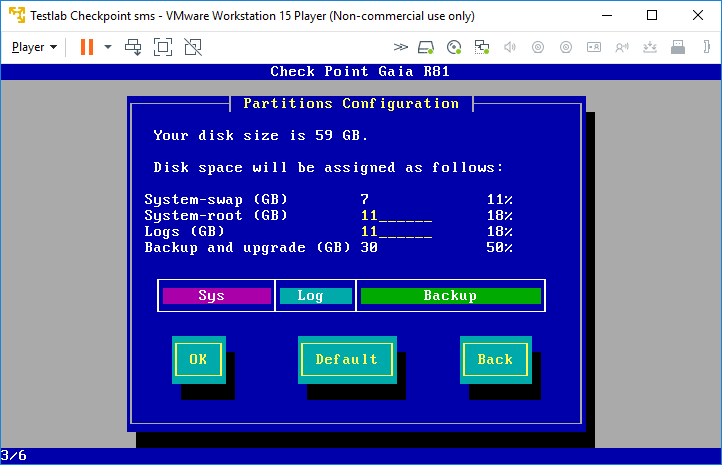
2.4 Partition layout configuration. In most cases are default values sufficient. Click OK.
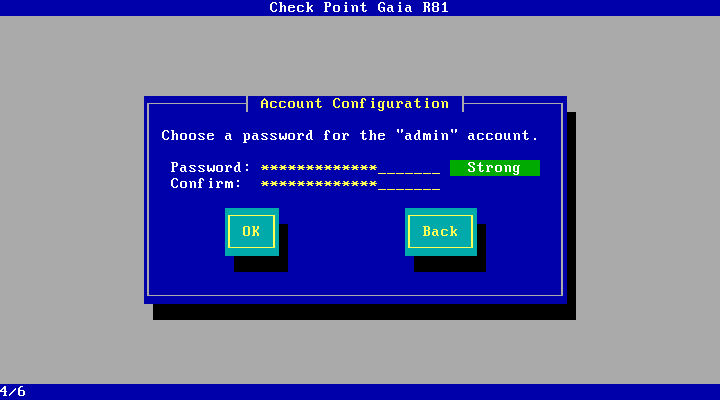
2.5 Type in the password for the admin account. Click OK.
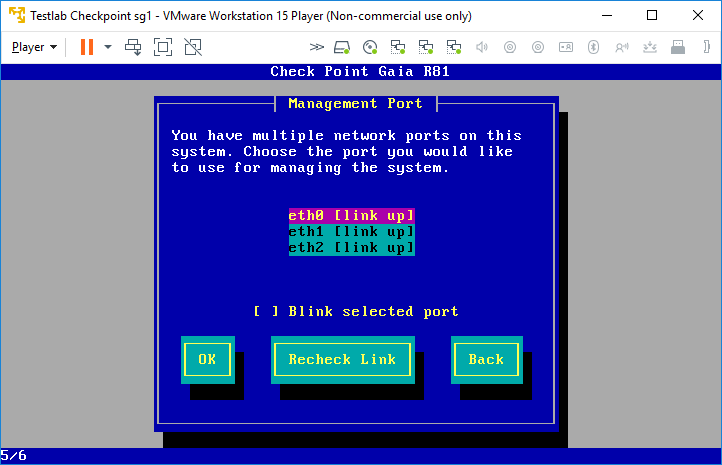
2.6 Select management interface. Click OK.
Note:
To simplify the Testlab I will use the eth0 interface (vmware “Network Adapter – bridged (Automatic)”) for managing the system which represents the external interface of the firewall. For the testing purposes in the closed Testlab environment it will not be a big issue, but in production environment it is highly recommended to use isolated DMZ or at least internal interface for the management. Another reason why I used external interface is because I have in this vmware bridged network 192.168.178.0/24 the default gw, which I will be using in the next test Testlab use cases e.g. Updates / Licenses & Contracts.
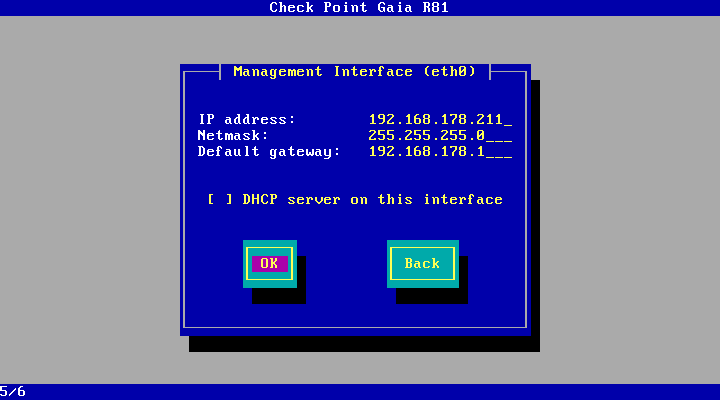
2.7 If the management interface is in isolated network, the Default Gateway can be empty.
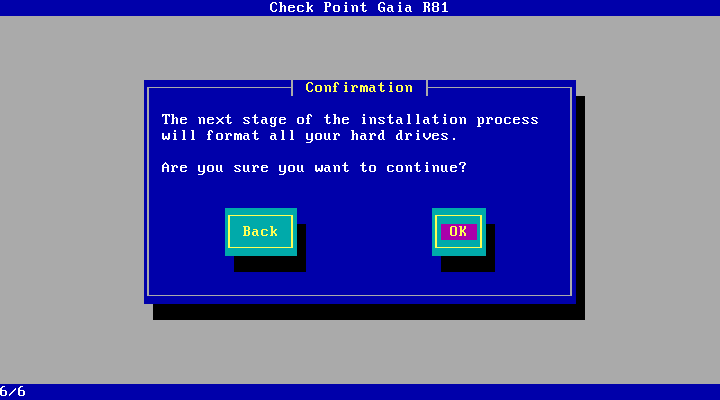
2.8 Start installation process. Click OK.
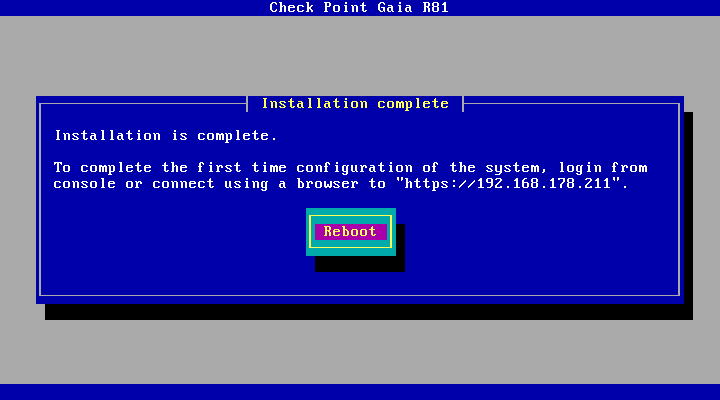
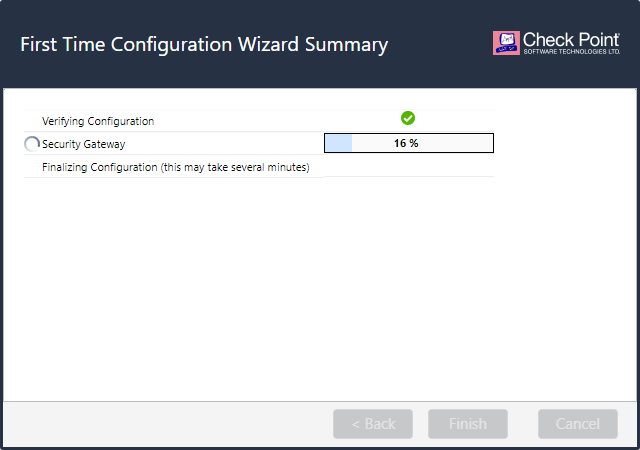
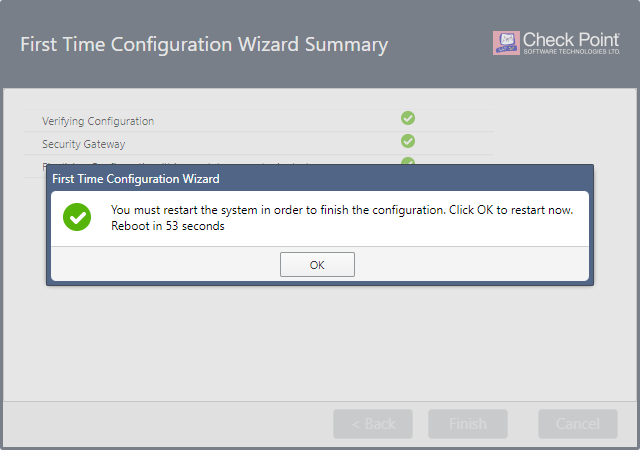
2.9 Installation is complete and the installer will reboot to boot the OS, which will be configured with first time wizard. Click Reboot.
3. First Time Wizard
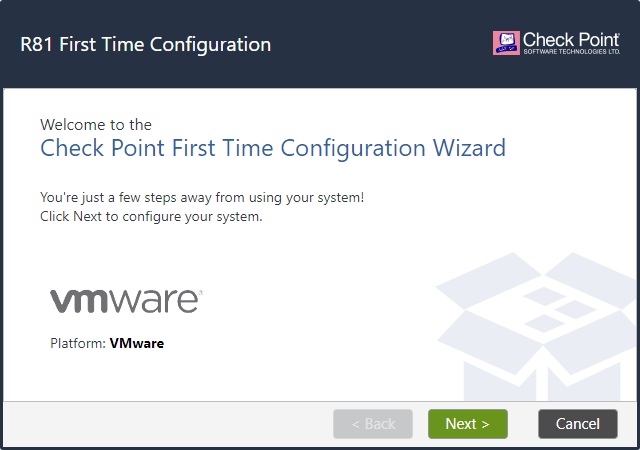
3.1 Start with first time wizard configuration. Click Next.
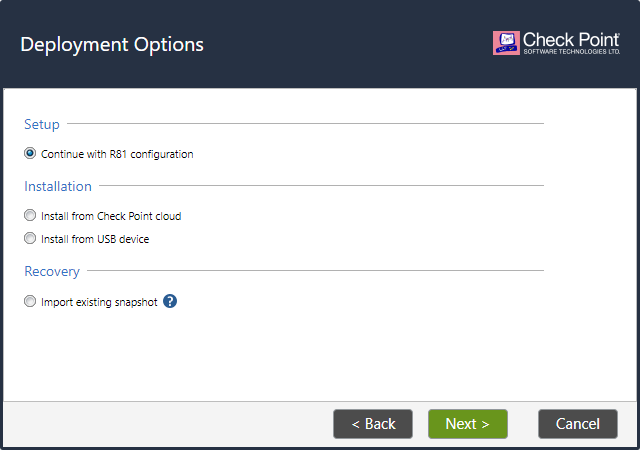
3.2 Continue with R81 configuration. Click Next.
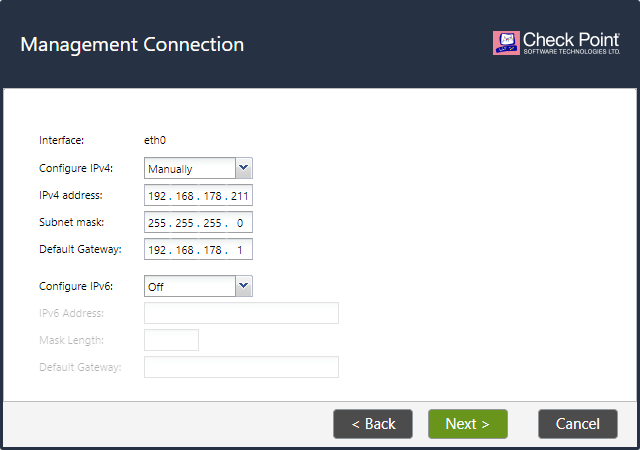
3.3 Configure Management Network. Click Next.
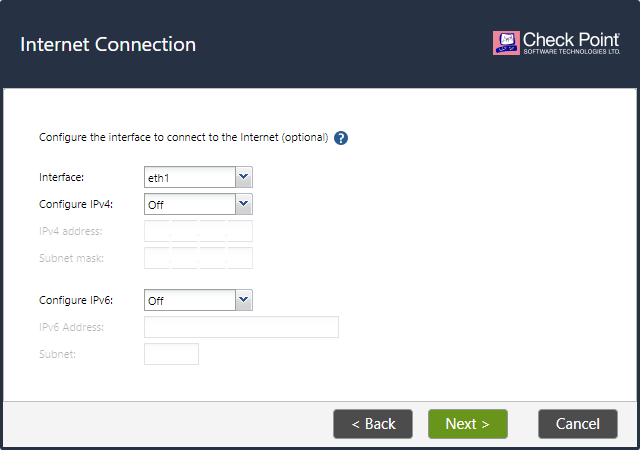
3.4 Optionally – configure other interfaces. Click Next.
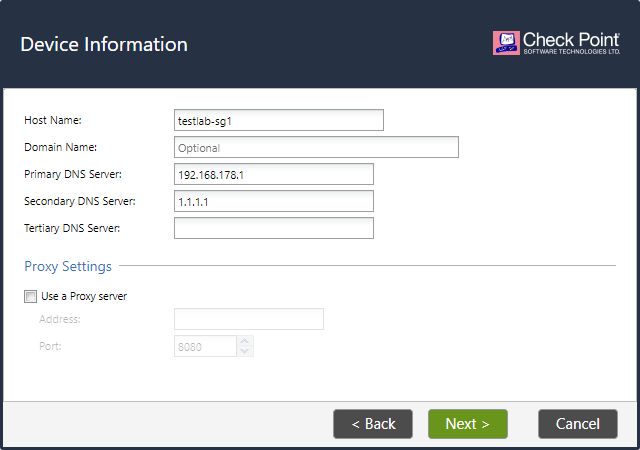
3.5 Configure hostname, DNS and proxy if necessary. Click Next.
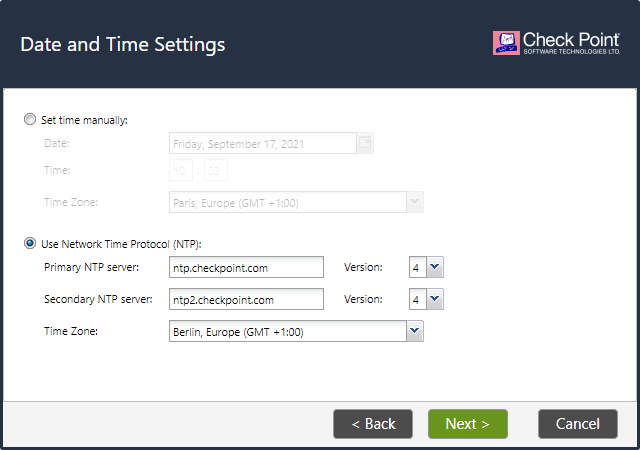
3.6 Configure time manually or using NTP servers. Click Next.
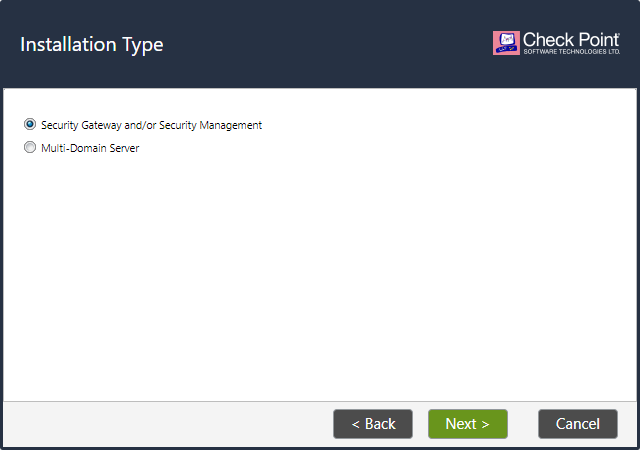
3.7 Select “Security Gateway and/or Security Management”. Click Next.
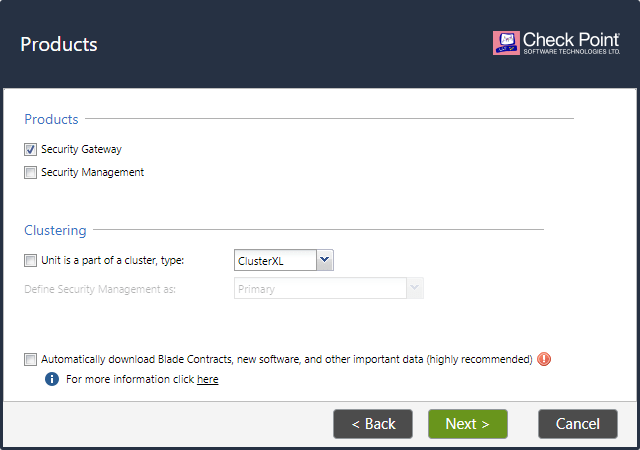
3.8 Select “Security Gateway”.
Note:
a) If you are installing cluster from scratch, select option “Unit is a part of a cluster, type”.
b) If you are installing production environment it is recommended to select “Automatically download Blade Contracts, new software, and other important data (highly recommended)”

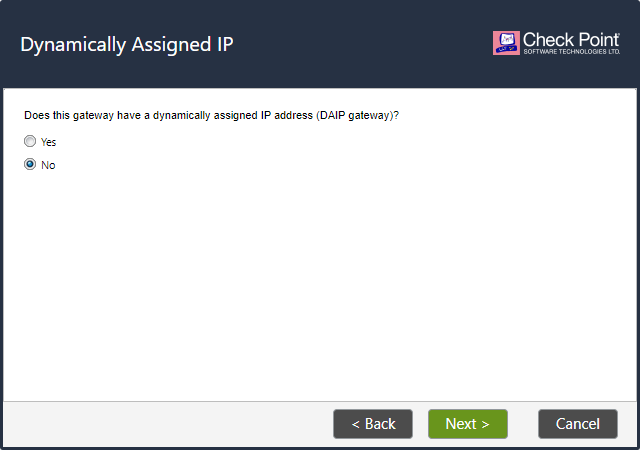
3.9 Select No. Click Next.
Note:
DAIP Gateway
A Dynamically Assigned IP (DAIP) Security Gateway is a Security Gateway where the IP address of the external interface is assigned dynamically by the ISP.
sk167473 – Dynamically Assigned IP Address (DAIP) Gateway FAQ
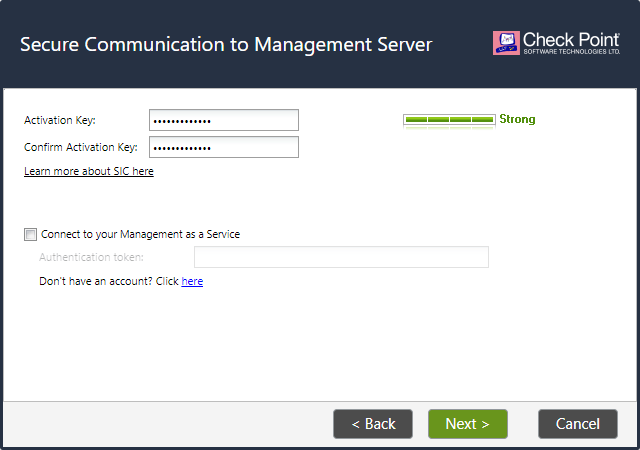
3.10 type the activation key – one time password for your gateway, which will be used for trust establishment between Security Gateway and Security Management Server. Click Next.
4. Connect Security Gateway to Security Management Server
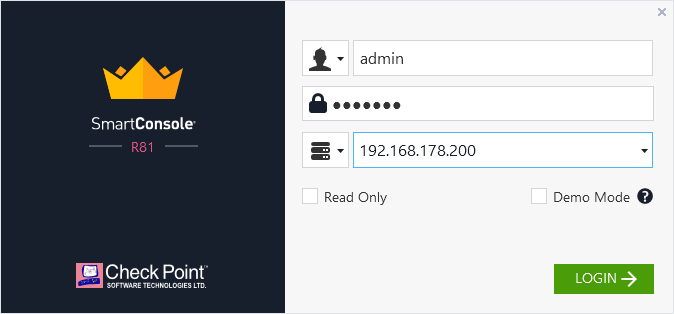
4.1 log in to the Smart Console.
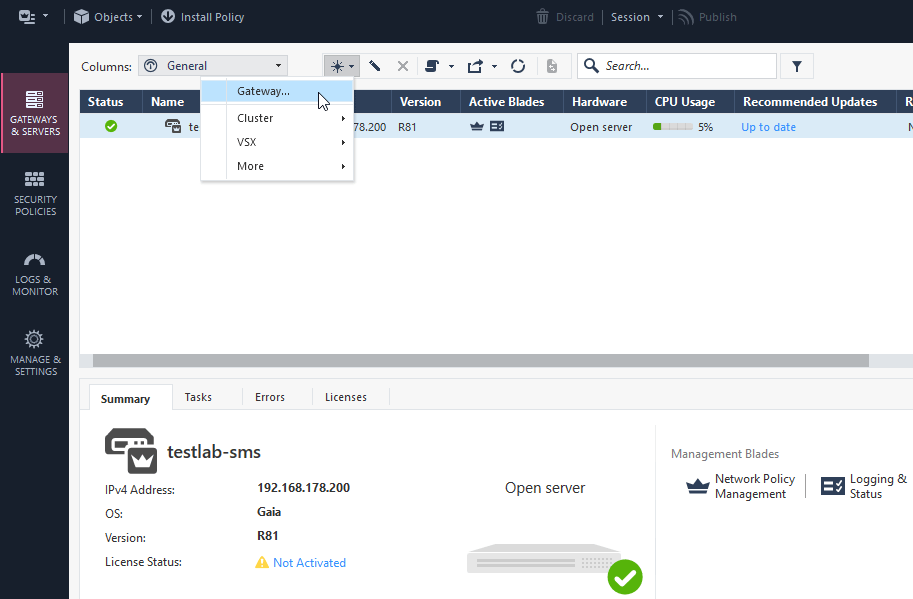
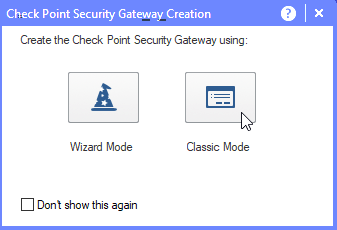
4.2 new Gateway – classic mode.
4.3 Type gateway name (usually the same as hostname configured in step 3.6) and Security Gateway management IP (configured in step 2.7, eventually 3.3). Click on Communication.
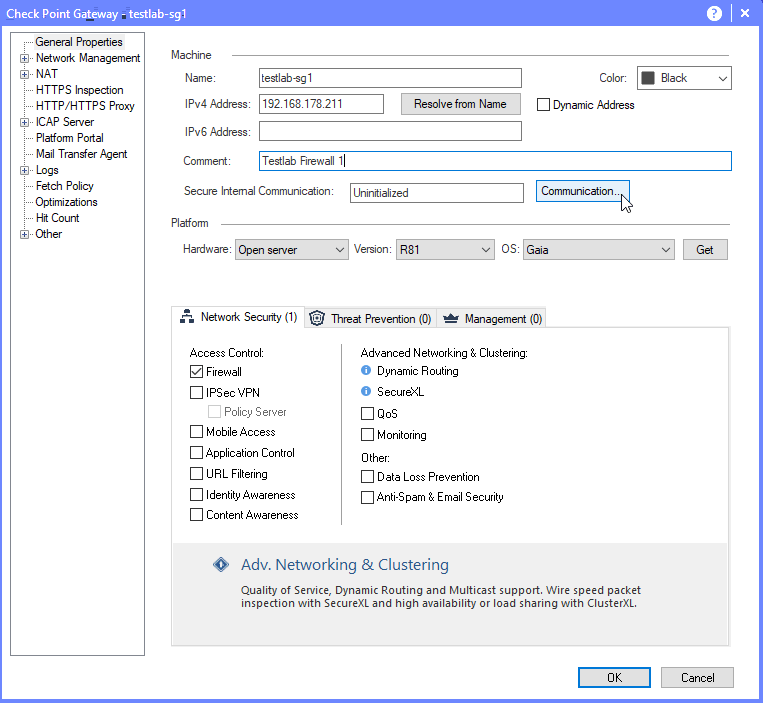
4.4 Type in activation key – one time password configured in step 3.10. Click Initialize.
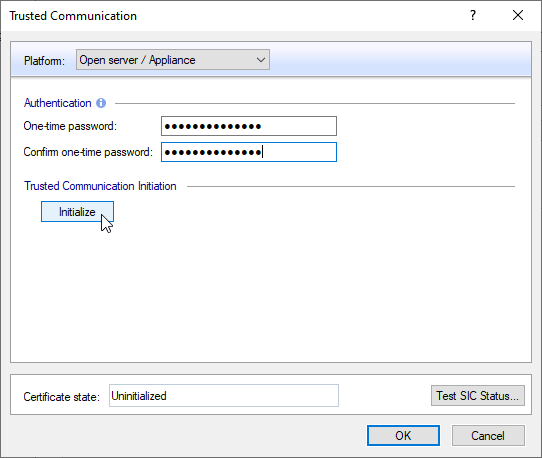
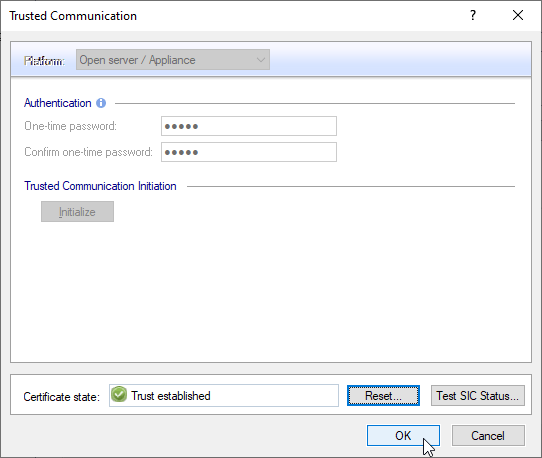
4.5 Trust between Security Gateway and Security Management Server is established. Click OK.
Note:
more about Secure Internal Communication (SIC)
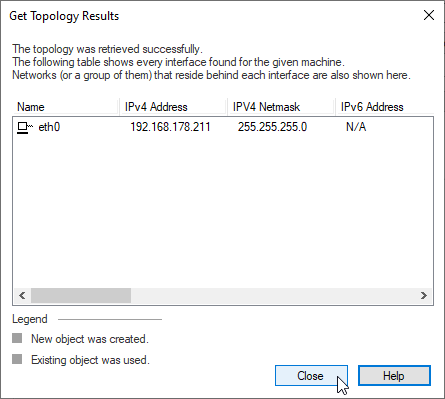
4.6 Get Topology Results. Click Close.
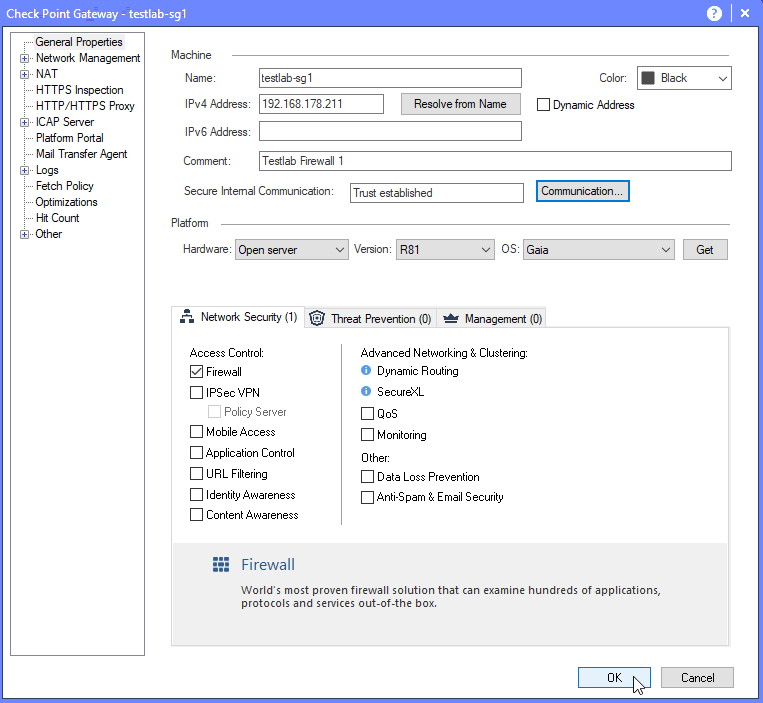
4.7 Security Gateway configuration finished. (optionally select additional security blades). Click OK.
4.8 Publish changes.
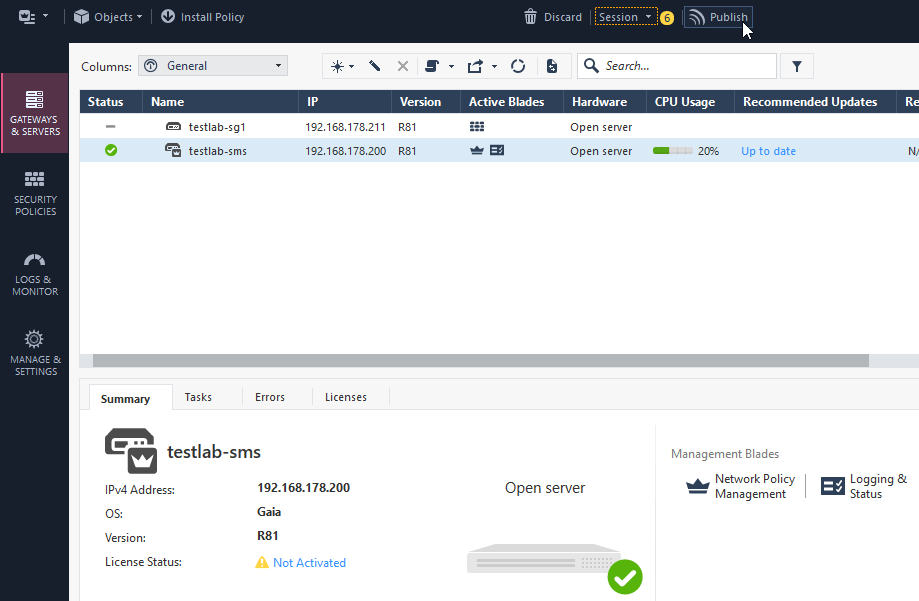
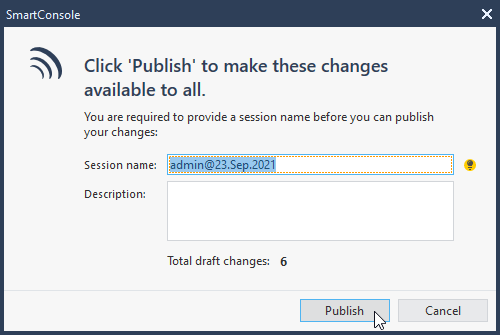
At this point we have functional Check Point environment with one Security Management Server and one Security Gateway with Plug-and-Play license for 15 days.
Another option is to request 30-day Evaluation license:
Support Center – How to Generate an Evaluation License
How to Request an Evaluation License for Security Gateways and Management, Endpoint Security
Checkpoint product licenses are present in the Check Point Product Center.

