In this Tutorial will be installed Check Point Security Management Server R81 (SMS) Open Server in Testlab, running under VMware Workstation Player environment to keep it simple as possible. The installation steps could be also used for production environment install.
Prerequisites:
- VMware Workstation Player or VMware ESXi
- in this case will be used VMware Workstation (because of simplicity, in case that somebody wants to build a Testlab on a normal workstation)
- Check Point iso Install Image (Check_Point_R81_T392.iso)
Steps:
1. Create VMware Virtual Machine
1. Create VMware Virtual Machine
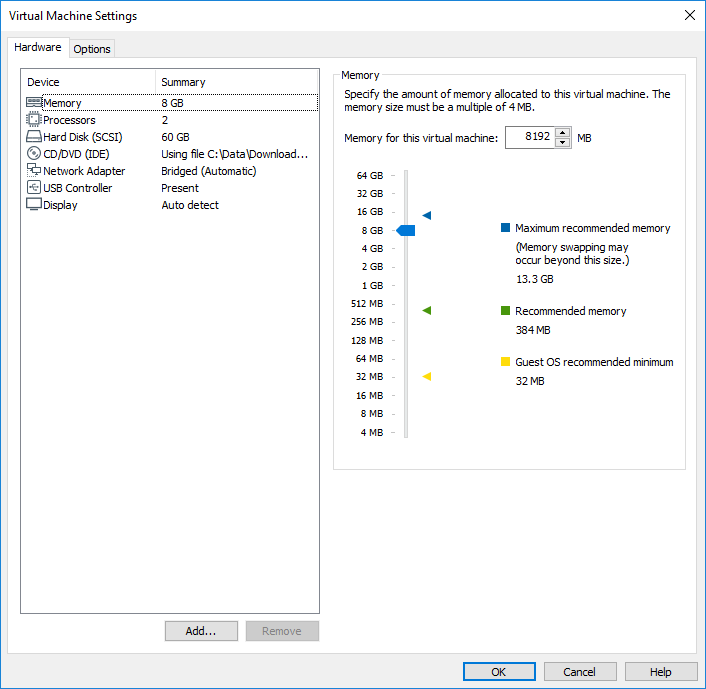
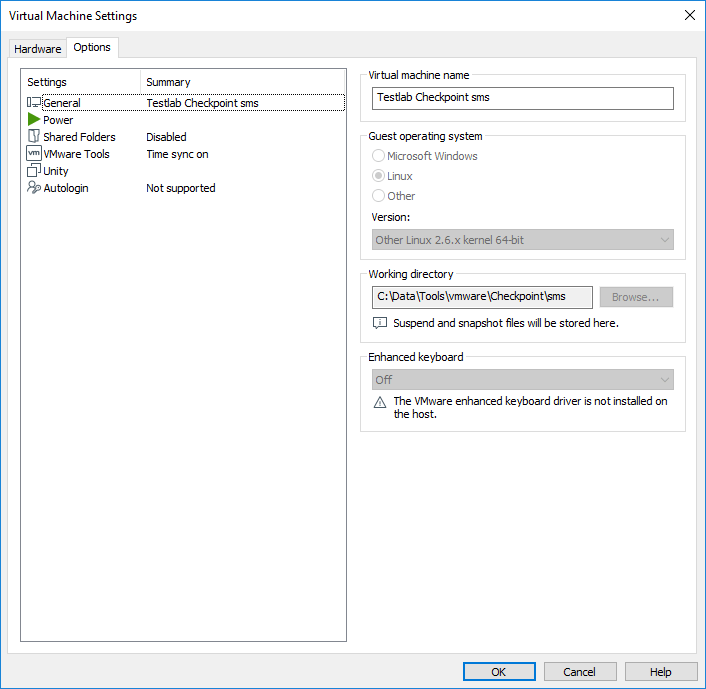
2. Install Check Point image in VMware virtual machine
2.1 Install Gaia on this system
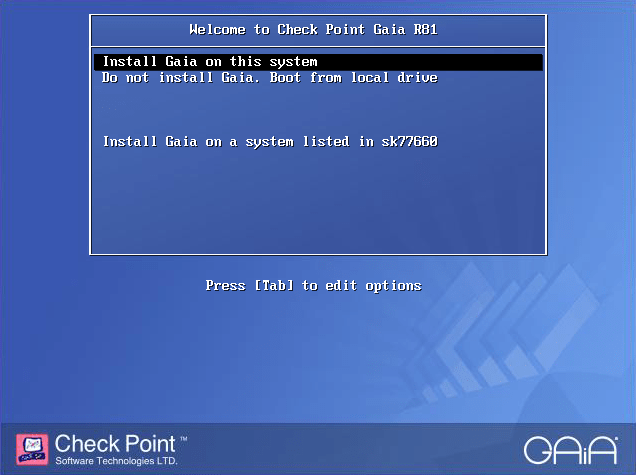
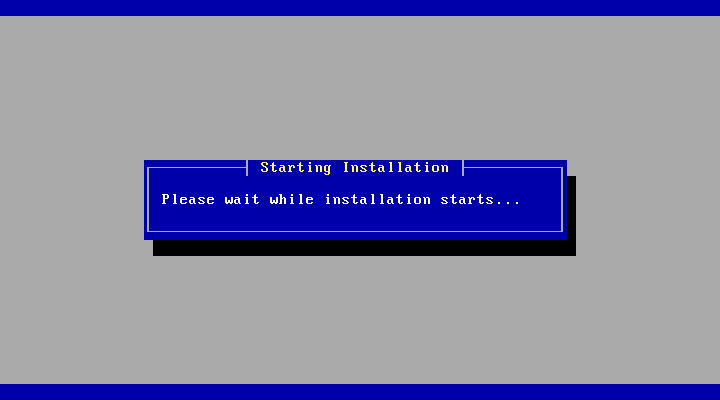
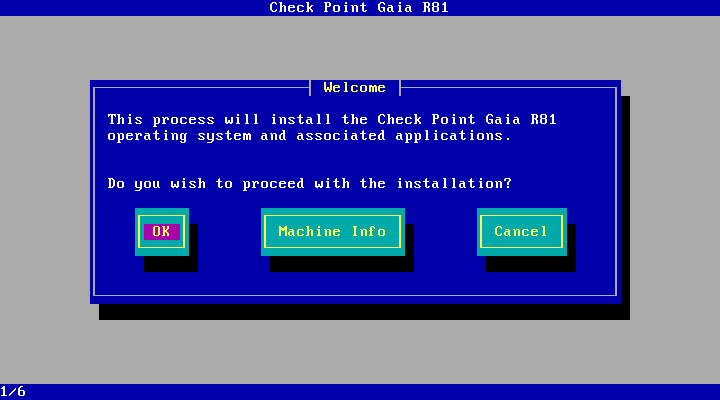
2.2 Checkpoint Gaia Installer scanned the hardware, recognized hardware components are under “Machine Info” present. Click OK.
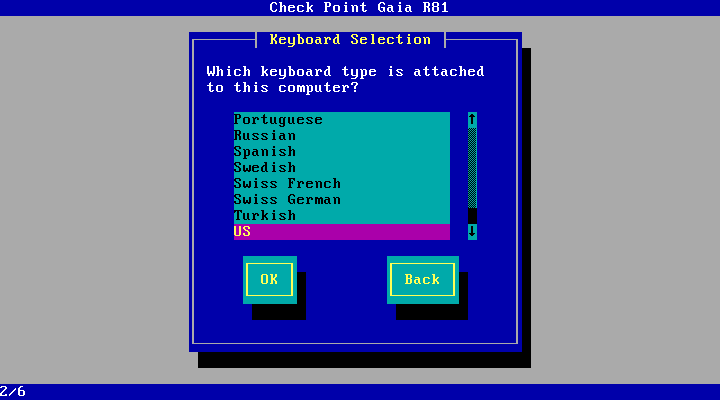
2.3 Select Keyboard layout. Click OK.
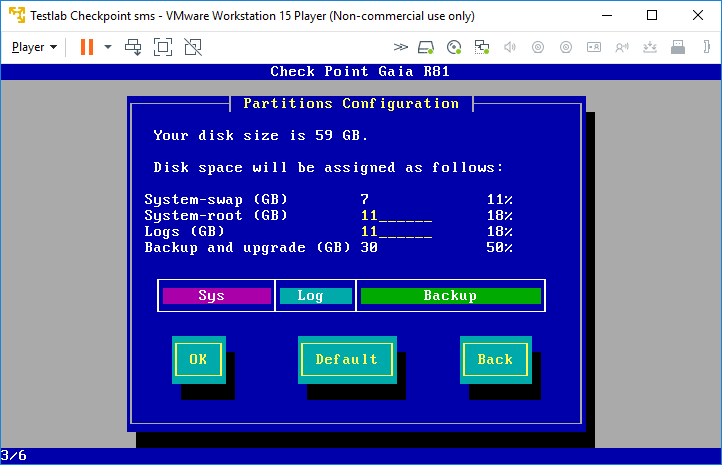
2.4 Partition layout configuration. In most cases are default values sufficient. Click OK.
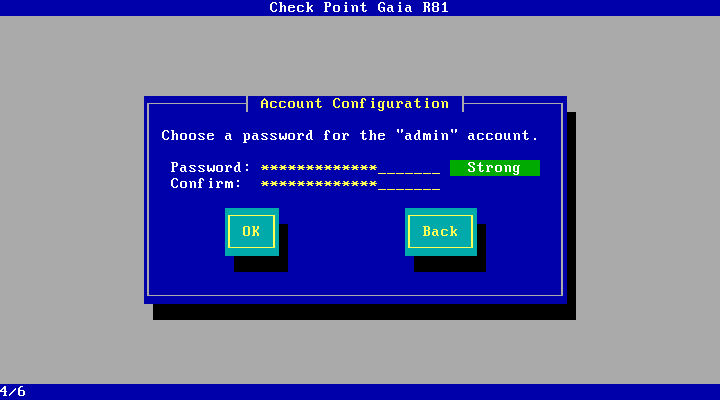
2.5 Type in the password for the admin account. Click OK.
2.6 Configure the management interface. Click OK
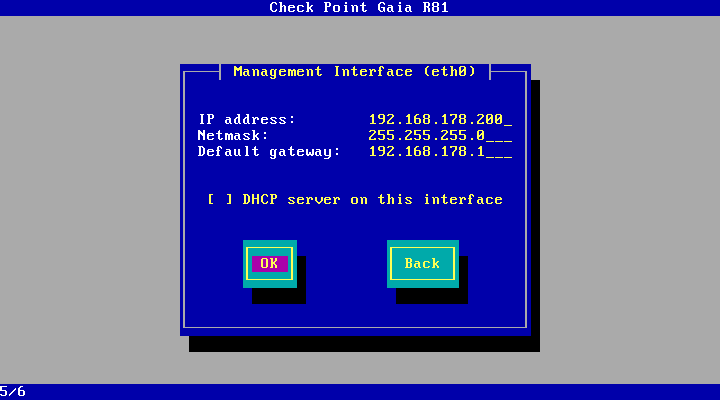
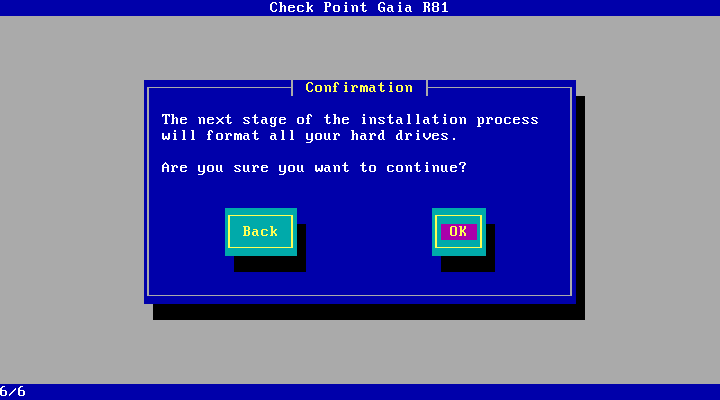
2.7 Start installation process. Click OK.
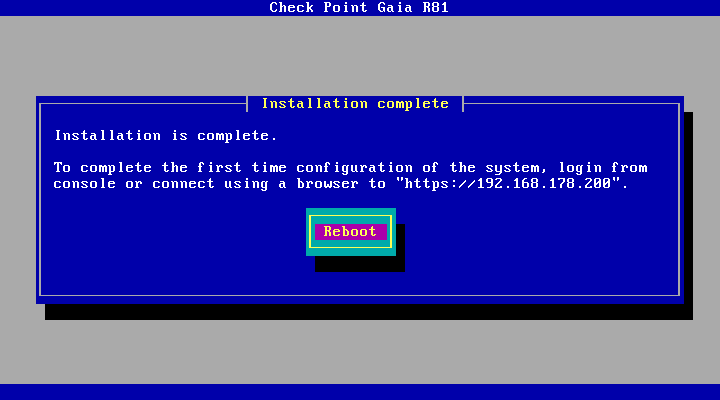
2.8 Installation is complete and the installer will reboot to boot the OS, which will be configured with first time wizard. Click Reboot.
3. First Time Wizard
3.1 Start with first time wizard configuration. Click Next.
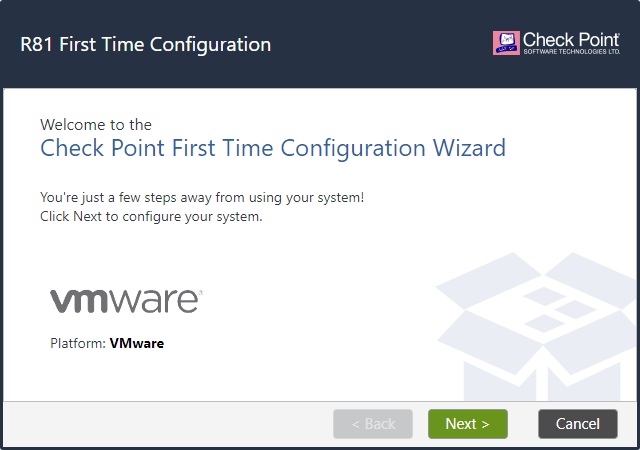
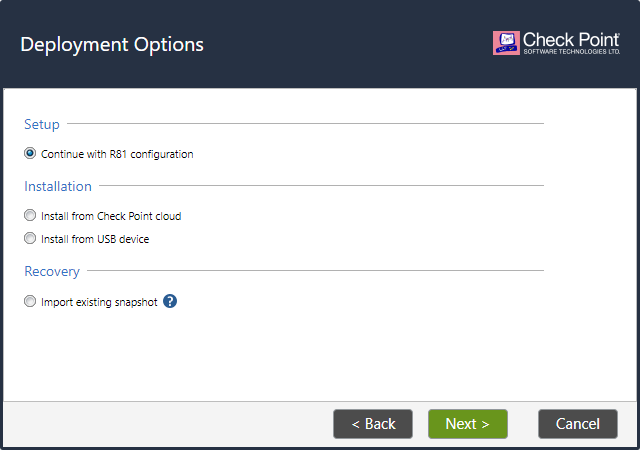
3.2 Continue with R81 configuration. Click Next.
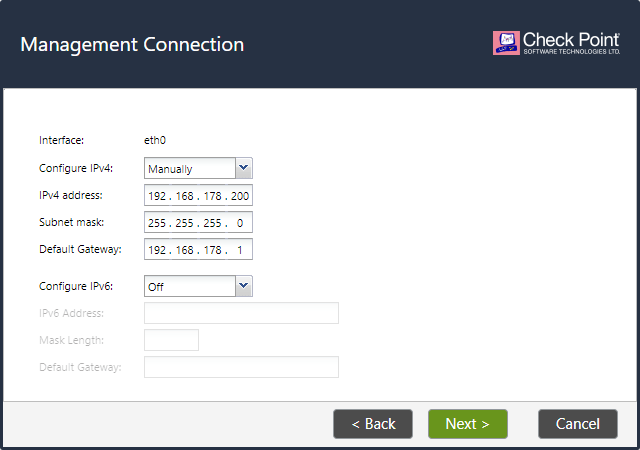
3.3 Configure Management Network. Click Next.
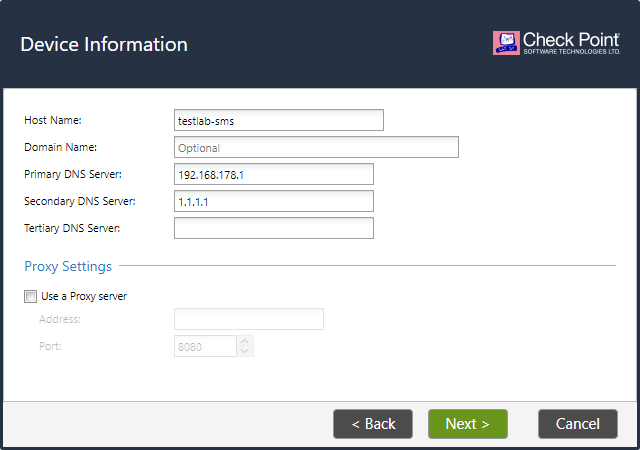
3.4 Configure hostname, DNS and proxy if necessary. Click Next.
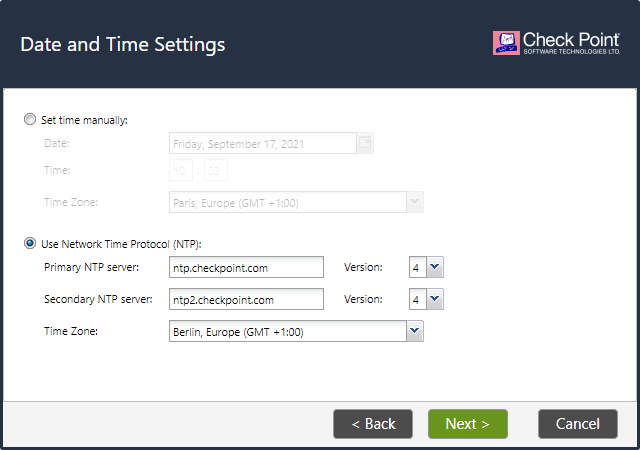
3.5 Configure time manually or using NTP servers. Click Next.
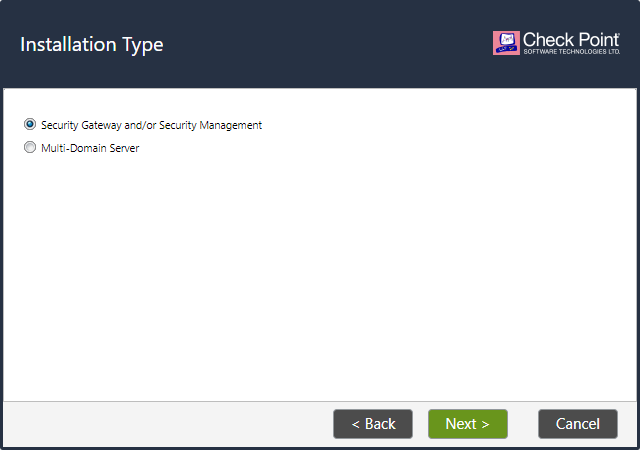
3.6 Select “Security Gateway and/or Security Management”. Click Next.
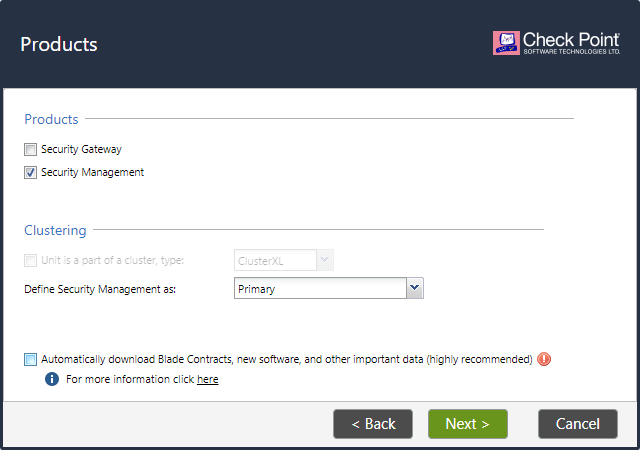
3.7 Select “Security Management”. Define Security Management as: “Primary”. Click Next.
Note:
In the production environment is highly recommended to turn on the feature “Automatically download Blade Contracts, new software, and other important data” so you would not have to download contracts and licenses later manually to activate the products, unless the company policy explicitly denies it.

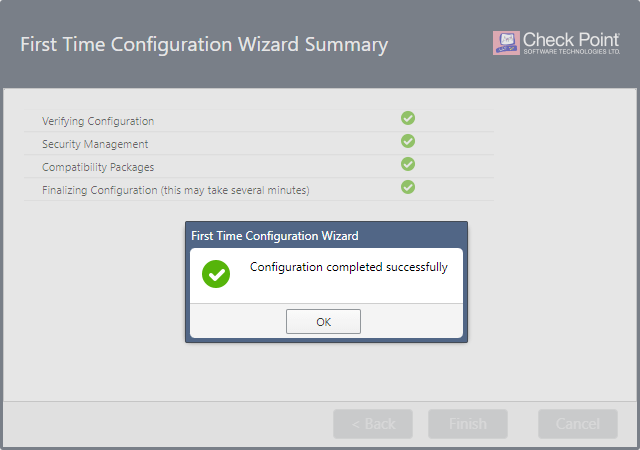
3.8 Log in to Security Gateway Gaia webinterface and download SmartConsole – “Download Now!”
4. Smart Console Install
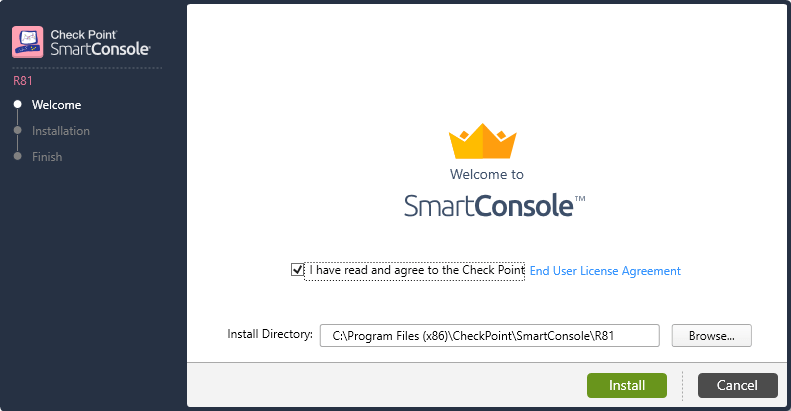
4.1 Run SmartConsole Installer. Click “I have read and agree to the Check Point End User License Agreement”. Click Install.
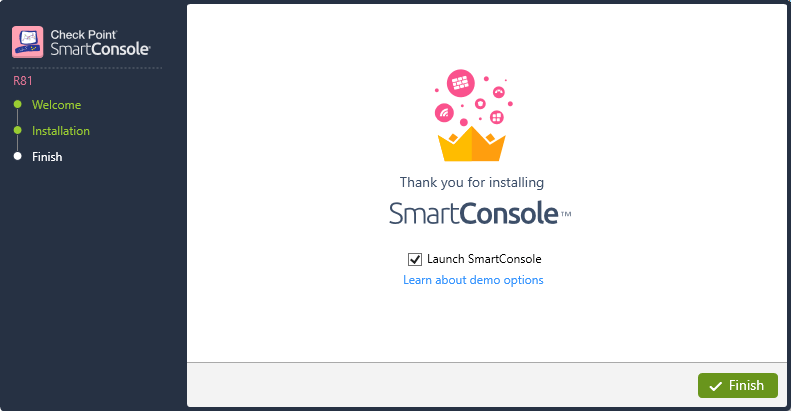
4.2 Click “Launch SmartConsole”. Click Finish.
5. Connect with SmartConsole to SMS
5.1 log in to the Smart Console.
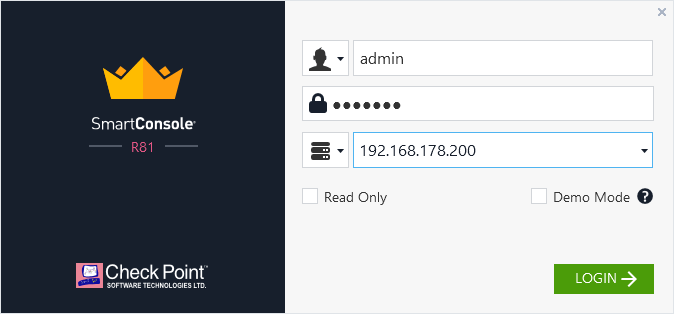
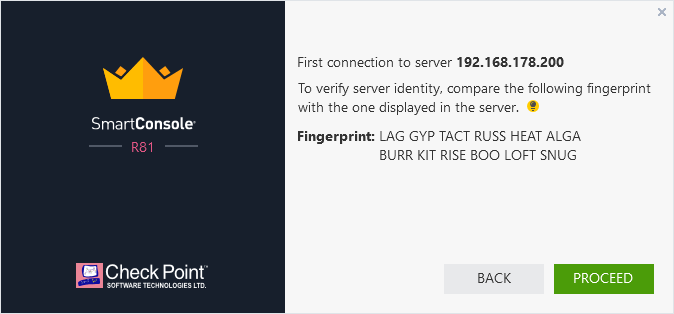
5.2 Verify Fingerprint in the SmartConsole and on the Security Management Server. After successful verification click Proceed.
Note:
When the user logs into SmartConsole for the first time, there is Security Management Server fingerprint check present. This fingerprint verifies the identity of the Security Management Server, Multi-Domain Server, or Domain Management Server when you connect to it with SmartConsole.
testlab-sms> cpconfig
This program will let you re-configure
your Check Point Security Management Server configuration.

Configuration Options:
----------------------
(1) Licenses and contracts
(2) Administrator
(3) GUI Clients
(4) SNMP Extension
(5) Random Pool
(6) Certificate Authority
(7) Certificate's Fingerprint
(8) Automatic start of Check Point Products

(9) Exit

Enter your choice (1-9) :7

Configuring Certificate's Fingerprint...
========================================
The following text is the fingerprint of this Security Management Server:
LAG GYP TACT RUSS HEAT ALGA BURR KIT RISE BOO LOFT SNUG

Do you want to save it to a file? (y/n) [n] ?
5.3 The fingerprint showed in the SmartConsole matches with fingerprint present in the Security Management Server. SmartConsole is connecting certainly to our Server.
The Security Management Server is successfully installed and prepared for the product license activation and connection with the Security Gateways.
How to Install Check Point Security Gateway:

