In this Tutorial will be deployed Cisco FMC – Firepower Management Center Virtual Appliance in Testlab, running on VMware ESXi host. These steps could also be used for production environment install.
Prerequisites:
- VMware ESXi host
- Cisco FMC – Firepower Management Center image
Network Diagram:
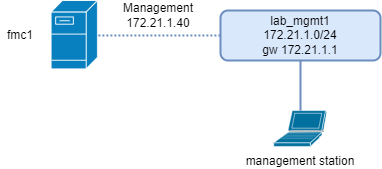
1. Download the Firepower Management Center Virtual
Download the Firepower Management Center Virtual image for VMware ESXi from Cisco.com, and save it to your local computer:
https://software.cisco.com/download/home/286259687/type/286271056/release/7.0.1
Note:
A Cisco.com login and Cisco service contract are required.
2. Create VMware Virtual Machine
2.1 In VMware ESXi Web interface select “Create/Register VM”.

2.2 Select “Deploy a virtual machine from an OVF or OVA file”. Select Next.
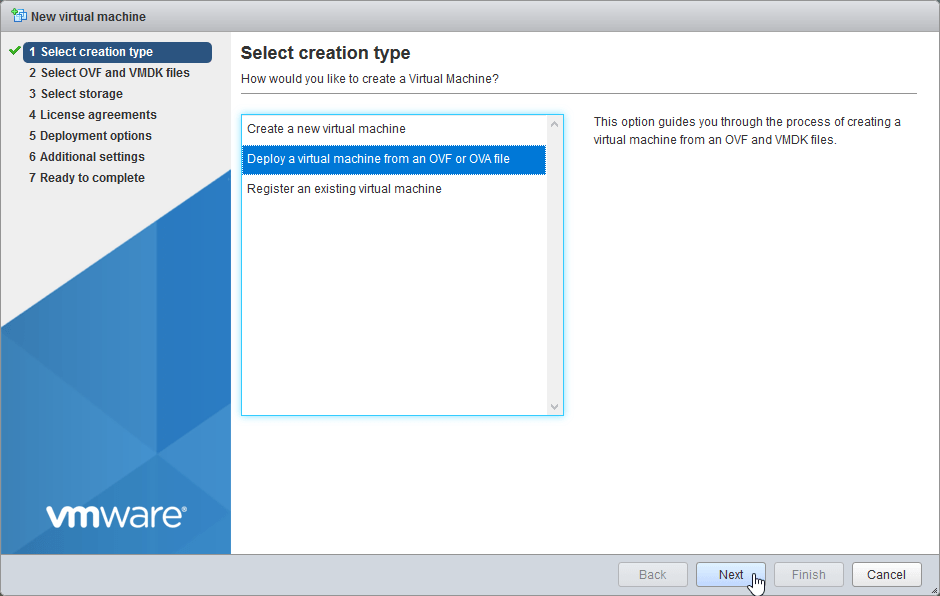
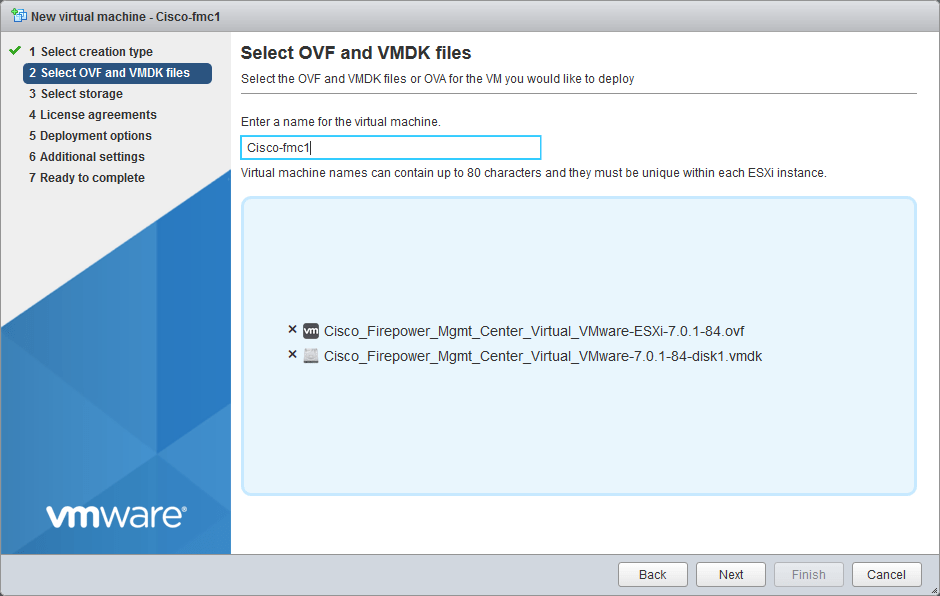
2.3 Enter name for the FMC Appliance “Cisco-fmc1”, Select or drag and drop the vmdk file and ESXi .ovf file. Select Next.
Note:
If you are deploying in vCenter use VI .ovf file.

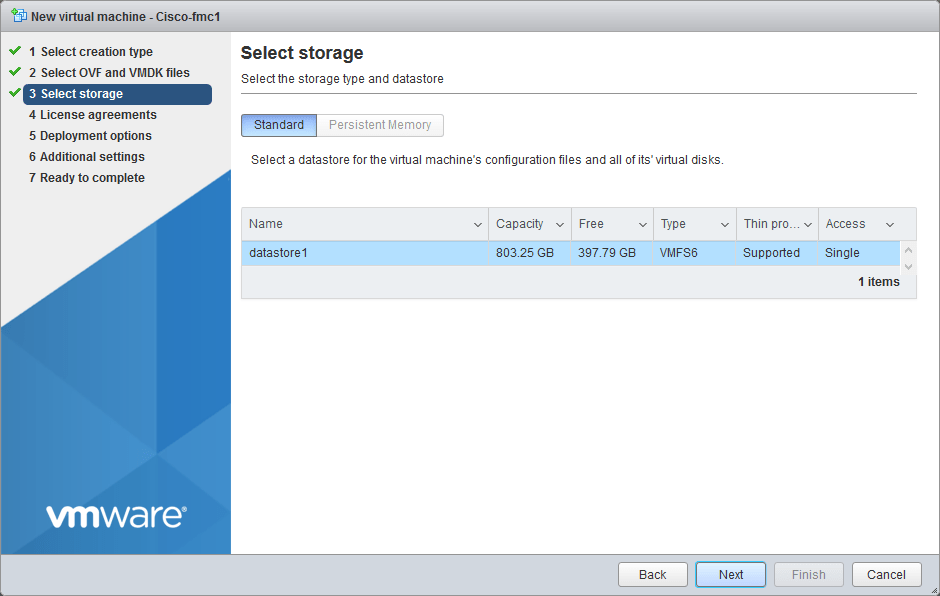
2.4 Choose your Datastore. Select Next.
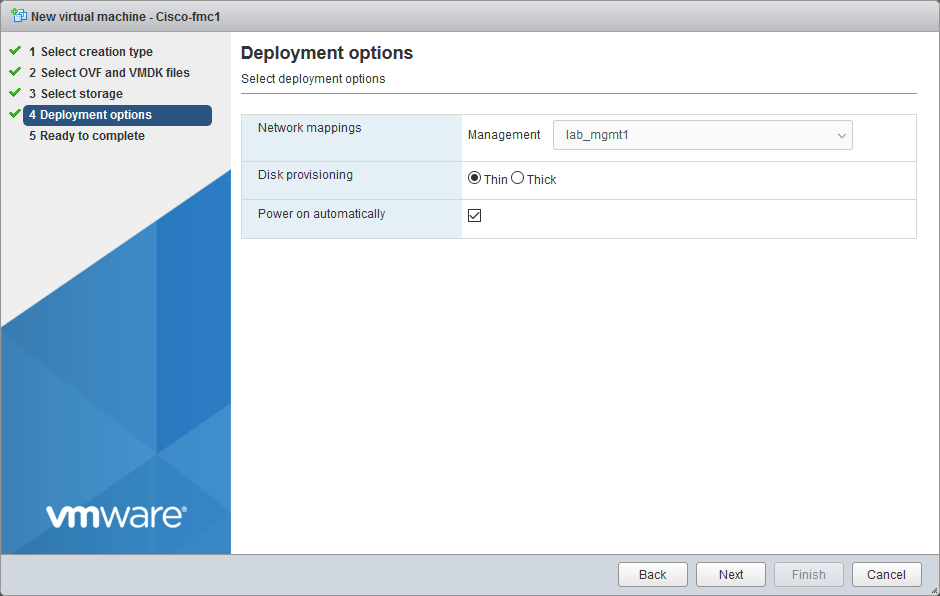
2.5 Configure your Network interface mappings
“Management” – function Management (“lab_mgmt1” VMware network)
more about Deployment options in Cisco Documentation
Deploy the Firepower Management Center Virtual to a vSphere ESXi Host
Disk Provisioning: Thin
more about VMware ESXi disk provisioning
Select Next.
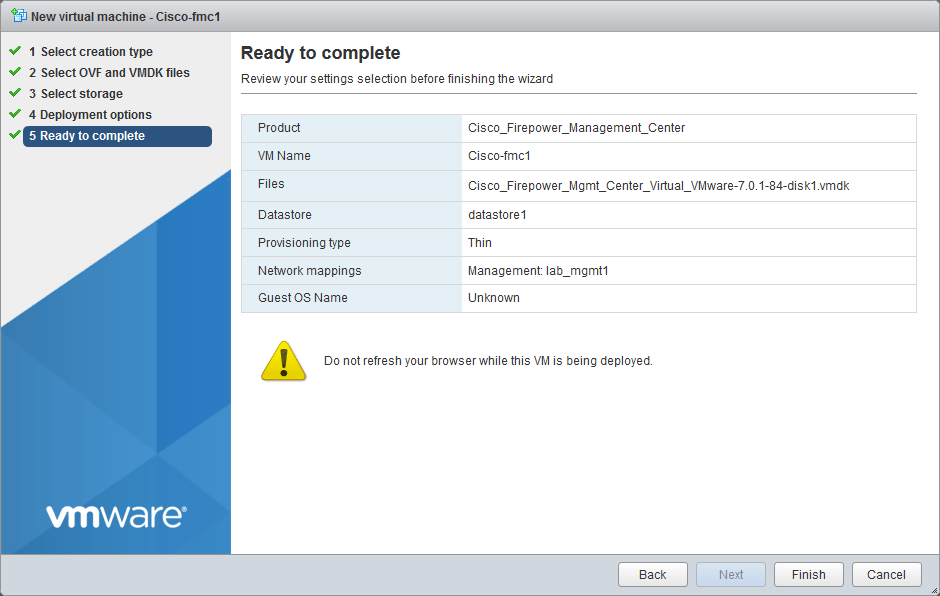
2.6 Review your configuration before finishing the wizard. Select Finish.
3. Complete the FMC setup using CLI
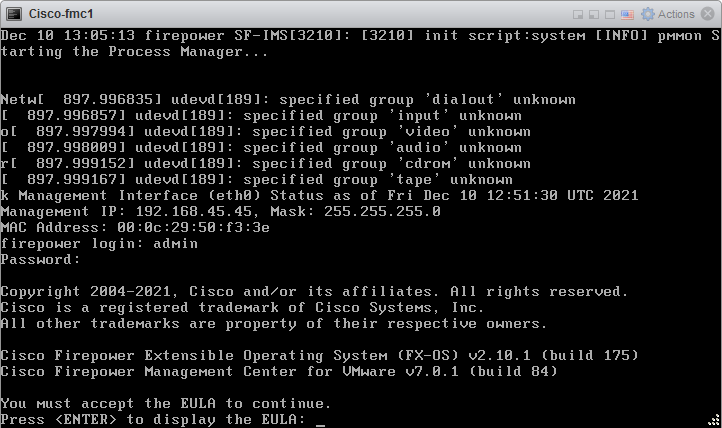
3.1 Open the VMware console and log in with default credentials: admin/Admin123, press Enter to display EULA. press Enter to accept EULA.
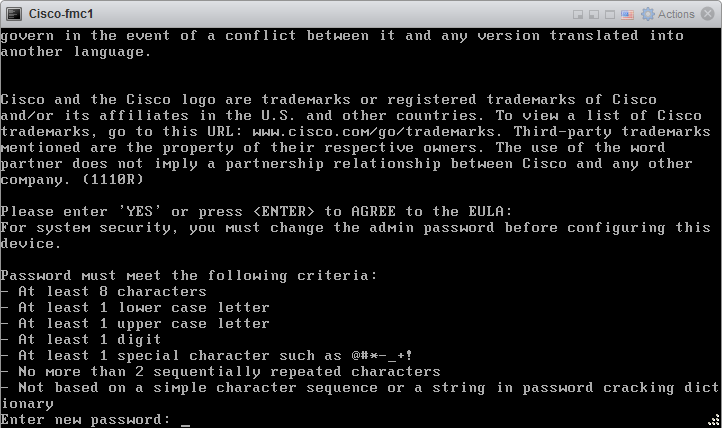
3.2 Enter new admin password.
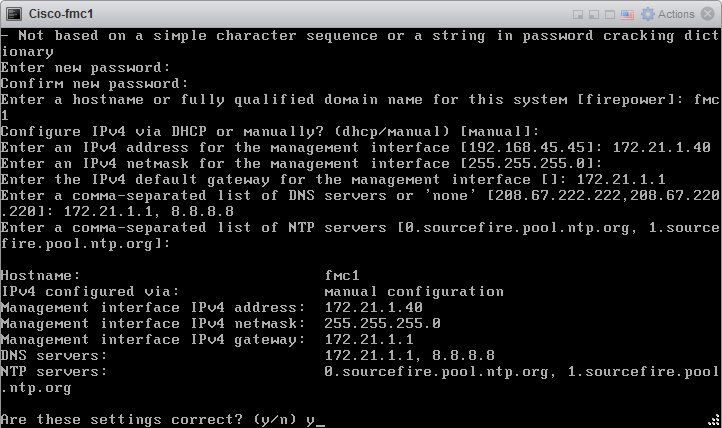
3.3 Configure network
Enter a hostname or fully qualified domain name for this system: fmc1
Configure IPv4 via DHCP or manually: manual
Enter IPv4 address for the management interface: 172.21.1.40
Enter IPv4 netmask for the management interface: 255.255.255.0
Enter the IPv4 default gateway for the management interface: 172.21.1.1
Enter a comma-separated list of DNS servers or ‘none’: 172.21.1.1, 8.8.8.8
Enter a comma-separated list of NTP servers or: press Enter
Are these settings correct? (y/n) y
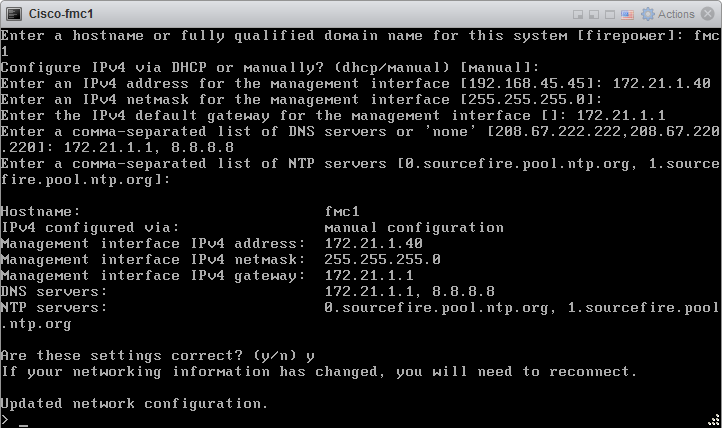
3.4 Initial configuration successfully performed.
4. Basic Firepower Management Center configuration
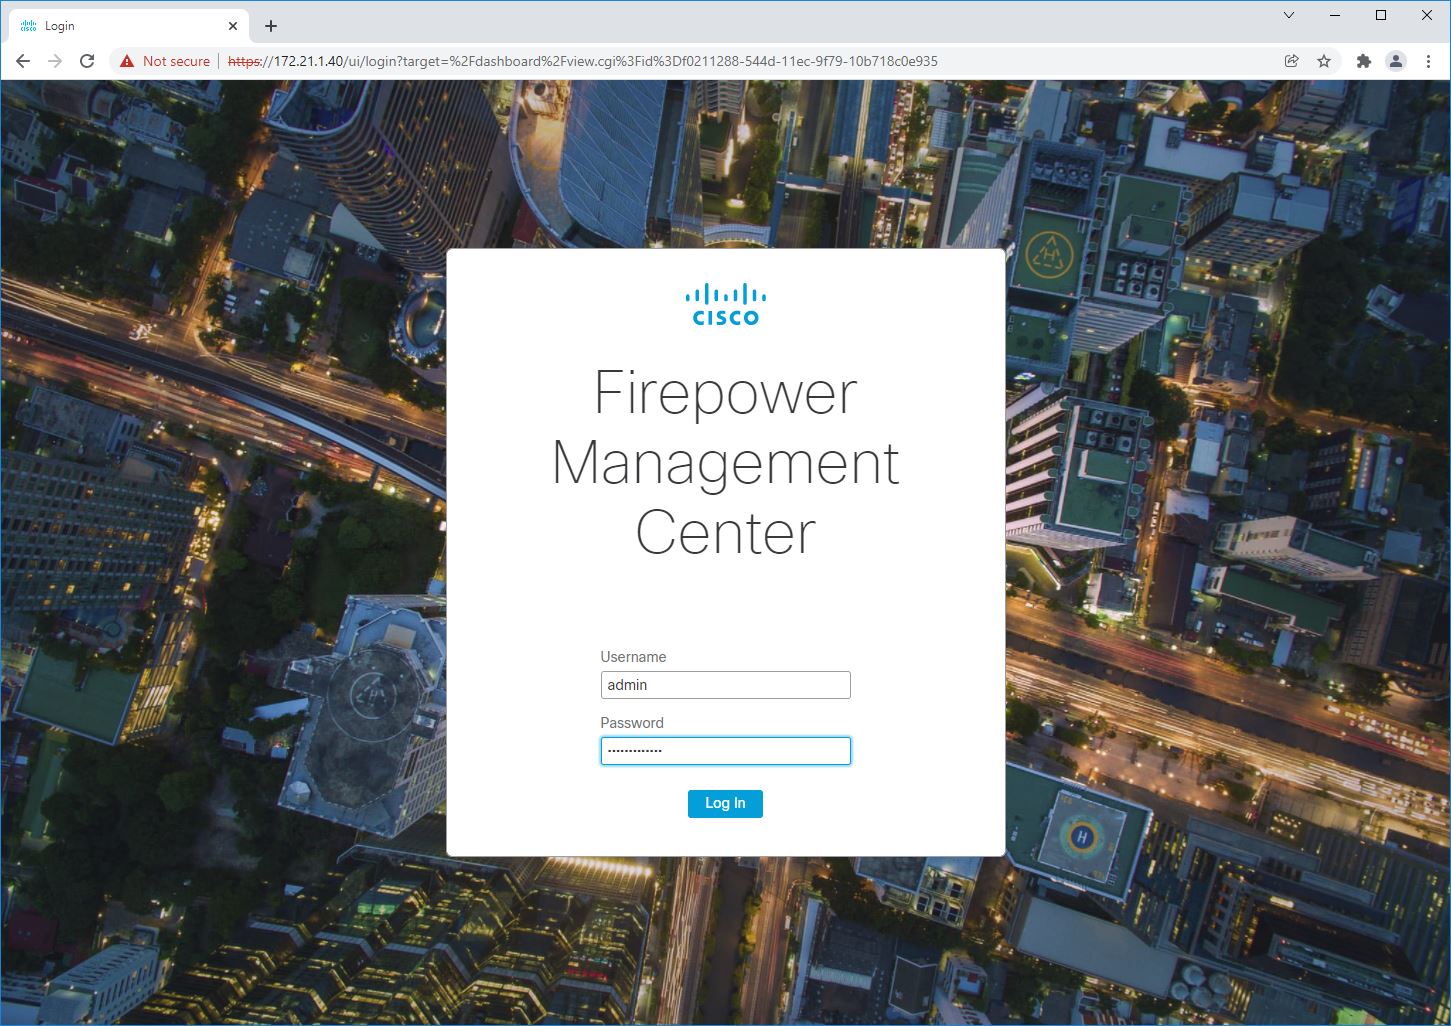
4.1 Log in to FMC with your account.
4.2 Select Overview – Dashboard (or create your own Dashboard – Create Dashboard)
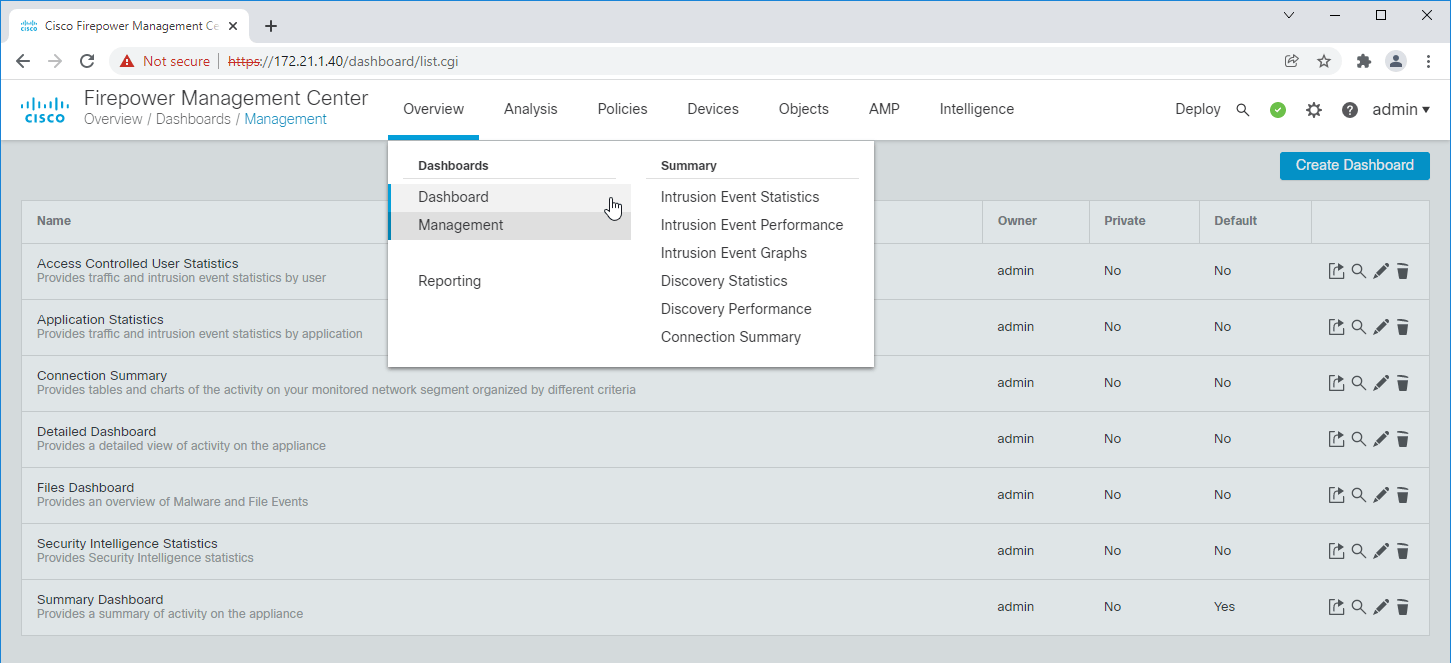
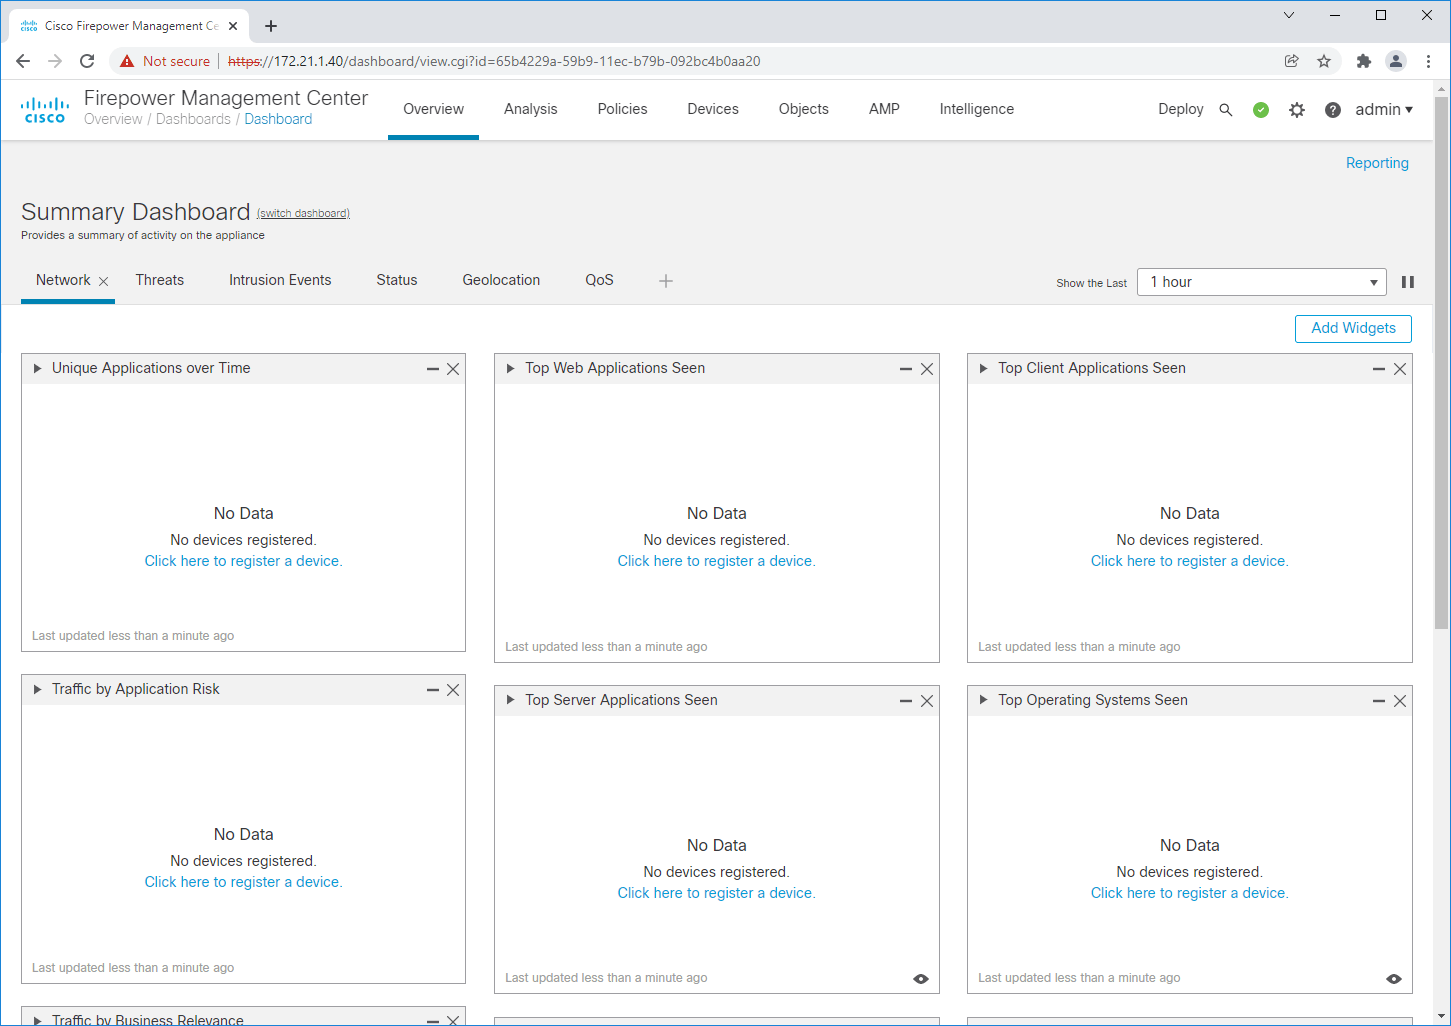
At this point we have functional Cisco FMC – Firepower Management Center. We can continue with FTD – Firepower Threat Defense Installation and afterwards registering FTD into FMC.
How to install Cisco FTD – Firepower Threat Defense:
Cisco Firepower Threat Defense Virtual Install
FMC Configuration Guide: