In this Tutorial I will migrate Secure Firewall Threat Defense (originally – Firepower Threat Defense) (FTD) High Availability pair from the old Firewall Management Center (fmc1) to the new Firewall Management Center (fmc2) including objects and policies.
This process is used for example if there is a need to split all managed devices between more FMCs.
In order to migrate the objects and the policies both FMCs must run the same software version.
It is recommended to create backups of the FTD Appliances and Firewall Management Center (FMC).
Prerequisites:
- running both Cisco Secure Firewall Management Centers – old FMC and new FMC
- running Cisco Secure Firewall Threat Defense (FTD) High Availability (HA) pair already connected with Firewall Management Center
1. Use Case Setup
Configuration:
FTD Appliance:
External Interface:
Default gateway:
Internal Interface:
Sync Interface:
old FMC Manager:
new FMC Manager
ftd1
Gi0-0 172.16.1.41/24
172.16.1.254
Gi0-1 1 10.0.1.1/24
Gi0-7 10.254.0.1/24
172.21.1.40
172.21.1.45
ftd2
Gi0-0 172.16.1.42/24
172.16.1.254
Gi0-1 1 10.0.1.2/24
Gi0-7 10.254.0.2/24
172.21.1.40
172.21.1.45
Diagram:
Initial FMC Status:
2. Export Configuration from old FMC
2.1 System > Tools > Import/Export
Select the items you want to migrate then export.
I will select Access Control Policy and Health Policy
3. Import Configuration to new FMC
3.1 System > Tools > Import/Export > Upload Package
Select the exported configuration file from previous step and upload.
3.2 Select items to be imported and import
After successful import access control policies, network objects and health policies are available.
4. Migrate 1st FTD Appliance – primary
4.1 on the old FMC – switch Active Peer
Devices > Device Management > ftd-HA > switch Active Peer
4.2 check status if secondary FTD is active
4.3 break HA on ftd-HA
4.4 HA Pair is disestablished
Note:
- ftd1 has empty interface configuration
- ftd2 is the active node processing the traffic with interface configuration
4.5 Delete ftd1 from old fmc1
4.6 Configure new fmc2 as manager in ftd1 cli
> configure manager add 172.21.1.45 MySecretKey
Manager 172.21.1.45 successfully configured.
Please make note of reg_key as this will be required while adding Device in FMC.
4.7 Register ftd1 on new fmc2
Devices > Device Management > Add > Device
Select the Provisioning Method: Registration Key
Host: 172.21.1.41
Registration Key: MySecretKey
Group: None
Access Control Policy: init_policy
Performance Tier: FTDv – Variable
Transfer Packets: check
5. Redirect traffic from secondary to primary
Redirect traffic from ftd2 to ftd1
5.1 Configure Interfaces for ftd1 on fmc2 – do not deploy configuration yet
Interface: GigabitEthernet0/0
Enabled: Yes
Name: lab_wan1
IP Type: User Static IP
IP Address: 172.16.1.41/24
Active Mac Address: 0000.0C12.345A
Standby Mac Address: 0000.0C12.345B
Interface: GigabitEthernet0/1
Enabled: Yes
Name: lab_lan1
IP Type: User Static IP
IP Address: 10.0.1.1/24
Active Mac Address: 0000.0C12.345C
Standby Mac Address: 0000.0C12.345D
5.2 disable all data interfaces in ftd2 Appliance from fmc1 and deploy configuration
Note:
this will cause service outage
5.3 deploy configuration on fmc2 for ftd1 Appliance
From this point on, the traffic is processed by the ftd1 appliance and the outage is resolved.
6. Migrate 2nd FTD Appliance – secondary
6.1 Delete ftd2 from old fmc1
6.2 Configure new fmc2 as manager in ftd2 cli
6.3 Register ftd2 on new fmc1
For detailed steps repeat section 4.5 to 4.7 with ftd2
7. Conclusion
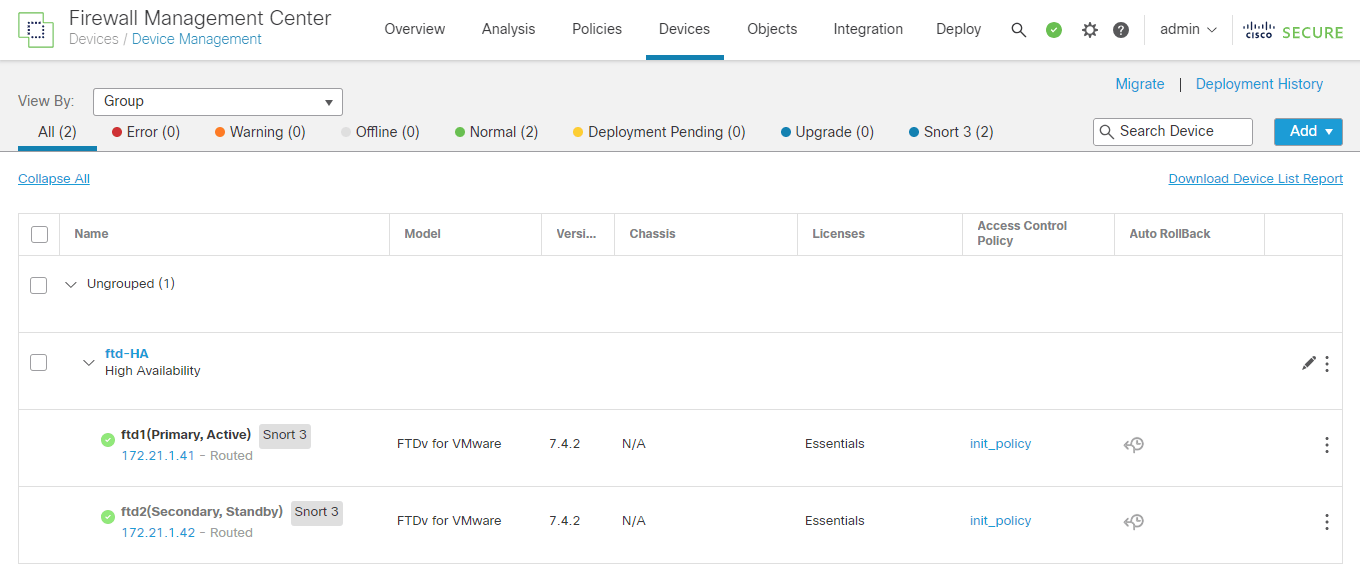
The FTD HA Cluster is successfully migrated from the old fmc to the new fmc.


