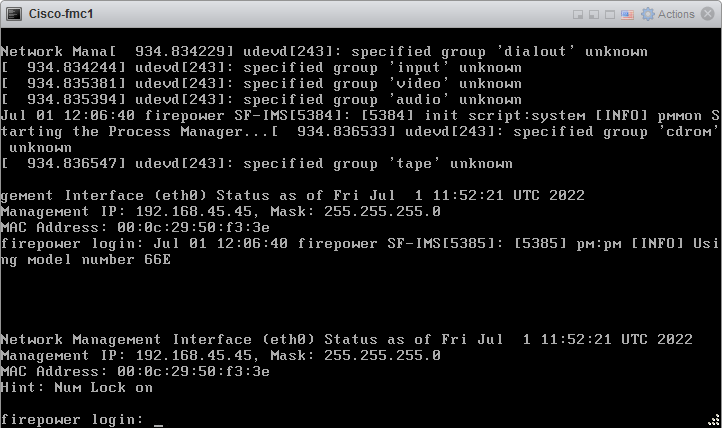
In this Tutorial will be deployed Cisco FMCv – Secure Firewall Management Center Virtual 7.2.0 Appliance in Testlab, running on VMware ESXi 7.0 host. The steps in this tutorial could also be used for production environment install.
This Tutorial is remake of my Firepower Management Center Install Tutorial after Cisco has renamed the product line at the End of the 2021 year.
Cisco states:
“Part of simplifying our portfolio involves the renaming of our security products under one brand, Cisco Secure. Being clear and outcome-focused, this change simplifies communication and will improve everyone’s understanding of how each product secures and protects within the Cisco Secure portfolio. For now, all products will include mention of the former names to easily recognize them during the transition”
more about Cisco Secure portfolio naming Architecture
Prerequisites:
- VMware ESXi host (7.0)
- Cisco FMCv VMware install package for ESXi (7.2.0)
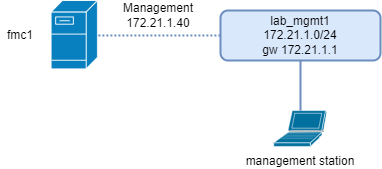
Network Diagram:
1. Download the Secure Firewall Management Center Virtual
Download the Secure Firewall Management Center Virtual image for VMware ESXi from Cisco.com, and save it to your local computer:
https://software.cisco.com/download/home/286259687/type/286271056/release/7.2.0
Note:
A Cisco.com login and Cisco service contract are required.
2. Create VMware Virtual Machine
2.1 In VMware ESXi Web interface select “Create/Register VM”.
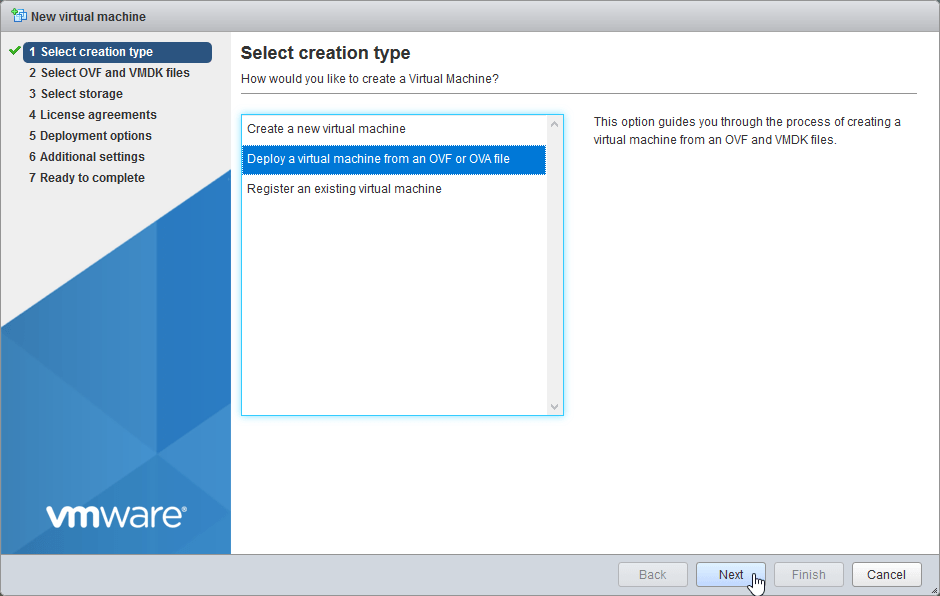
2.2 Select “Deploy a virtual machine from an OVF or OVA file”. Select Next.
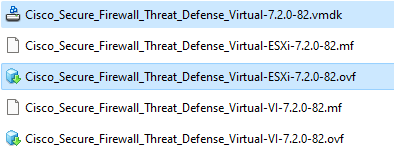
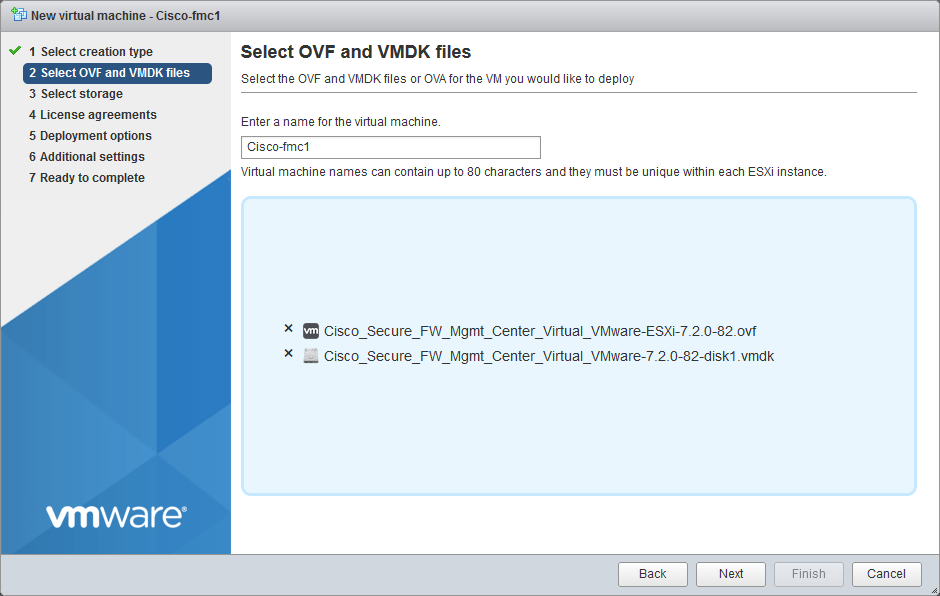
2.3 Enter name for the FMC Appliance “Cisco-fmc1”, Select or drag and drop the vmdk file and ESXi .ovf file. Select Next.
Note:
If you are deploying in vCenter use VI .ovf file.
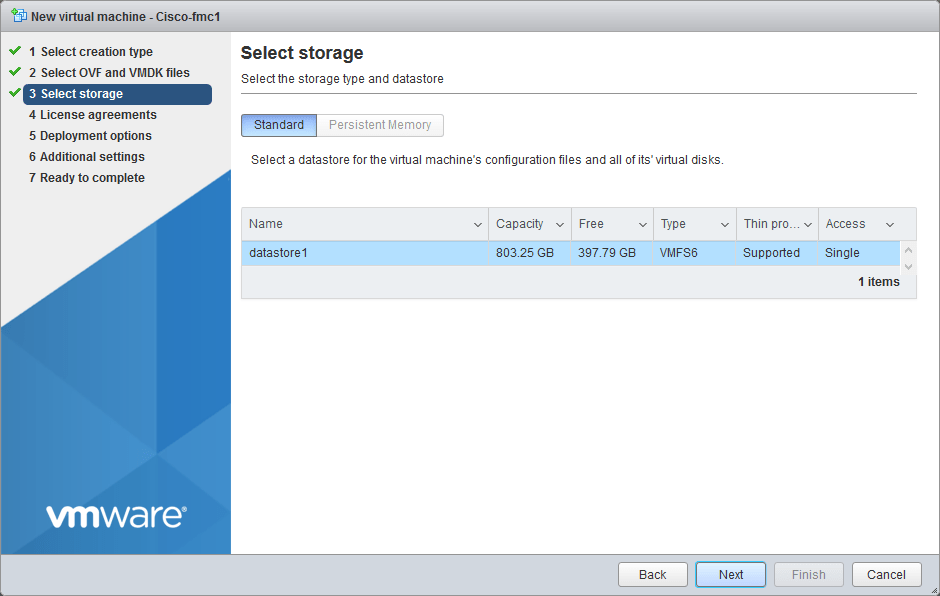
2.4 Choose your Datastore. Select Next.
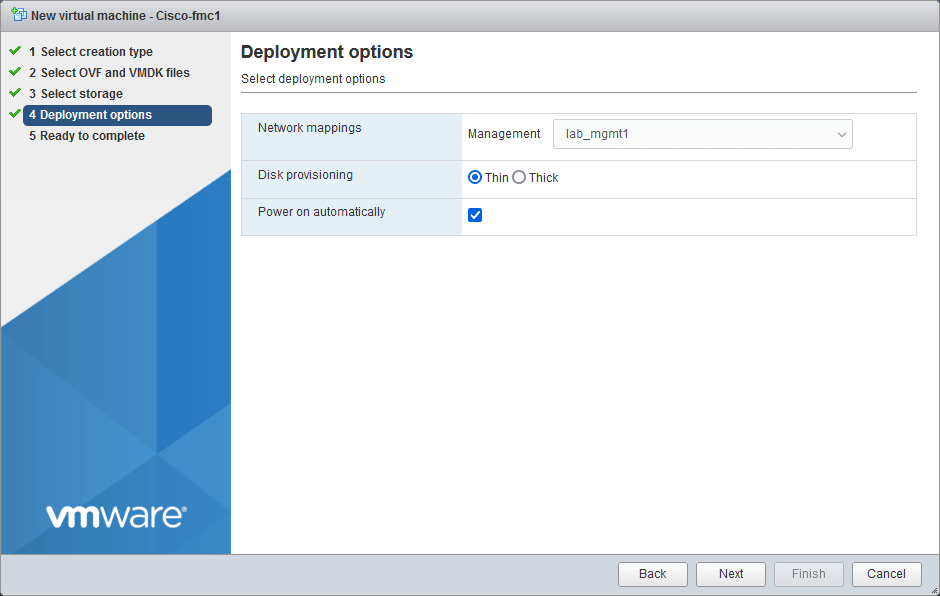
2.5 Configure your Network interface mappings
“Management” – function Management (“lab_mgmt1” VMware network)
more about Deployment options in Cisco Documentation
Deploy the Secure Firewall Management Center Virtual to a vSphere ESXi Host
Disk Provisioning: Thin
more about VMware ESXi disk provisioning
Select Next.
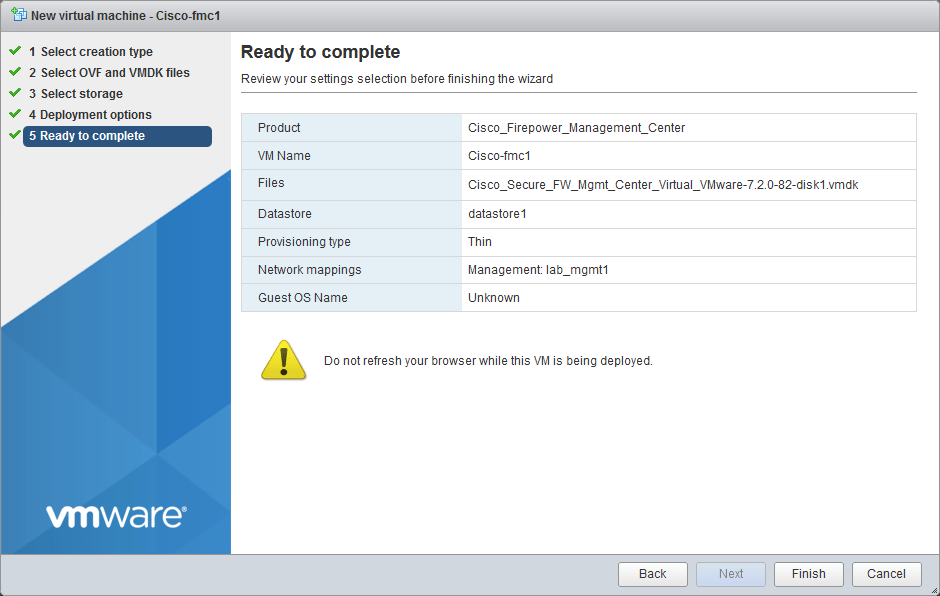
2.6 Review your configuration before finishing the wizard. Select Finish.
Note:
Deploying of the FMC Image will take couple of minutes depending on the ESXi Host Hardware Configuration (in my Testlab ~19 min)
3. Complete the FMC setup using CLI
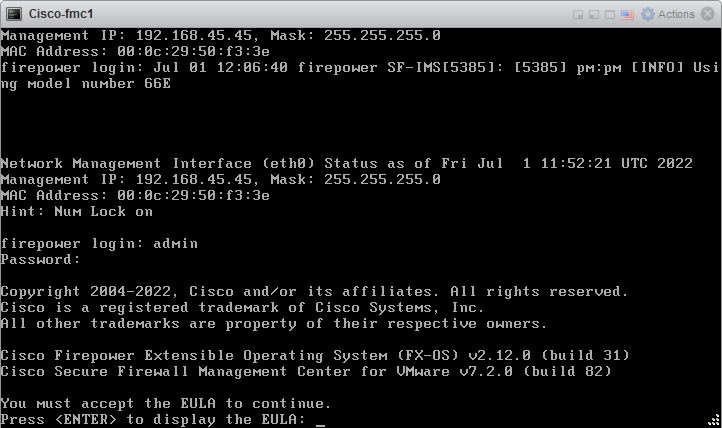
3.1 Open the VMware console and log in with default credentials: admin/Admin123, press Enter to display EULA. press Enter to accept EULA.
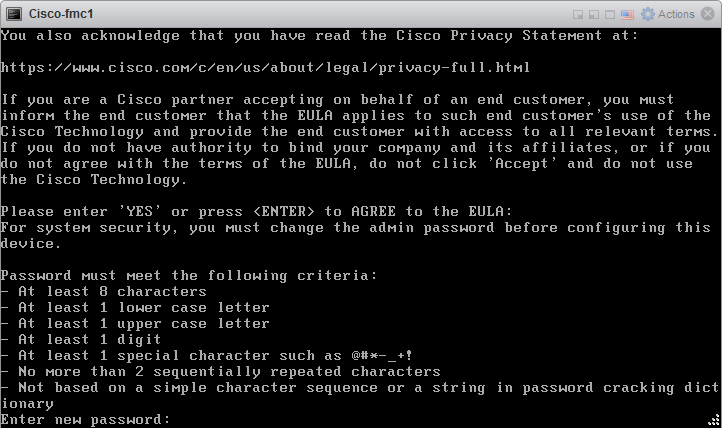
3.2 Enter new admin password.
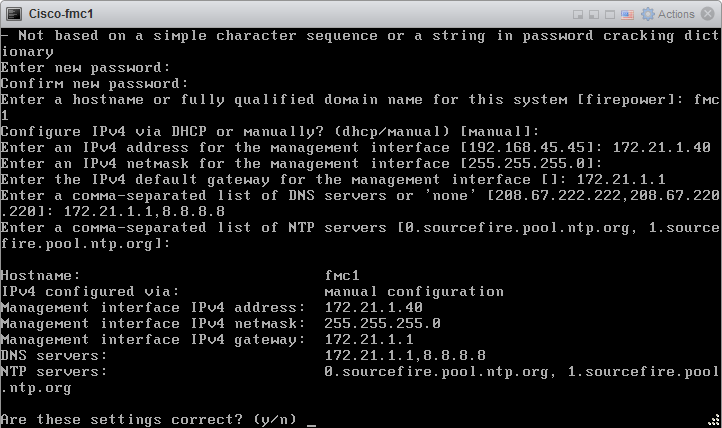
3.3 Configure network
Enter a hostname or fully qualified domain name for this system: fmc1
Configure IPv4 via DHCP or manually: manual
Enter IPv4 address for the management interface: 172.21.1.40
Enter IPv4 netmask for the management interface: 255.255.255.0
Enter the IPv4 default gateway for the management interface: 172.21.1.1
Enter a comma-separated list of DNS servers or ‘none’: 172.21.1.1, 8.8.8.8
Enter a comma-separated list of NTP servers or: press Enter
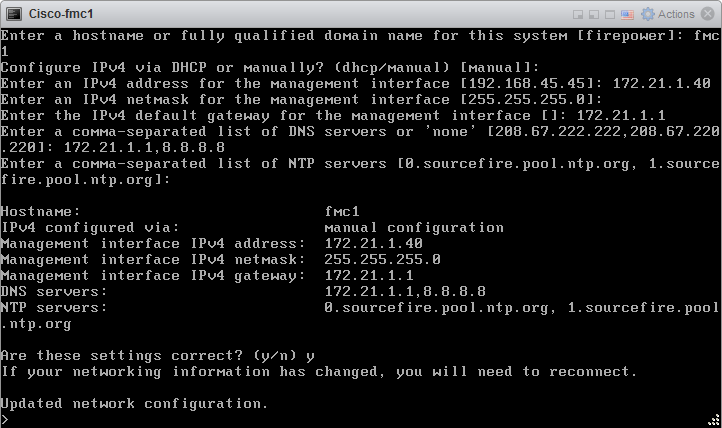
Are these settings correct? (y/n) y
3.4 Initial configuration successfully performed.
4. Basic Firepower Management Center configuration
4.1 Log in to FMC with your account and configure licensing. In this example I will chose 90-Day Evaluation Period.
4.2 Select Overview – Dashboard (or create your own Dashboard – Create Dashboard)
4.3 At this point we have functional Cisco FMC – Secure Firewall Management Center and can add the Devices to the FMC.
Devices > Device Management > Add > Device
We can also continue with FTD – Firepower Threat Defense Installation and afterwards registering FTD into FMC.
How to install Cisco FTD – Firepower Threat Defense:
Cisco Secure Firewall Threat Defense Virtual Install
FMC Configuration Guide:
Cisco Secure Firewall Management Center Device Configuration Guide


